
 By
By Chapter 4:
Add news articles to the database
So far, we’ve put together an add/edit form with inputs relating to news articles.
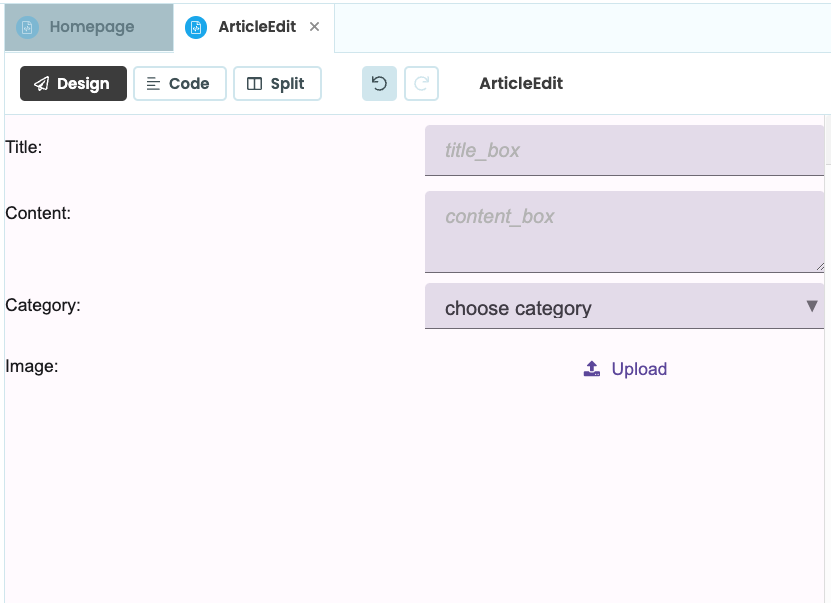
It’s time to connect it up to our database and save the articles that the user enters. This is the ‘Create’ part of our CRUD app.
The process will look like this:
- The user clicks the ‘Add an article’ button
- A popup appears, displaying the content of the ‘ArticleEdit’ Form
- The user fills in the inputs
- The user clicks either ‘Save’ or ‘Cancel’
- If the user clicks save, store the article. Otherwise, discard the article.
We’ll walk through these steps below.
Step 1: Display an alert when the user clicks 'Add an Article'
We want to display our ‘ArticleEdit’ Form when a user clicks the ‘Add an article’ button. We’ll use Events for this.
Click on ‘Homepage’ in the App Browser and choose the Design view to go back to your UI.
Click on the ‘Add an article’ Button, and scroll to the bottom of the Properties Panel. You’ll see a list of events for the Button. Click the blue arrows next to ‘click’ to set up a click event handler.
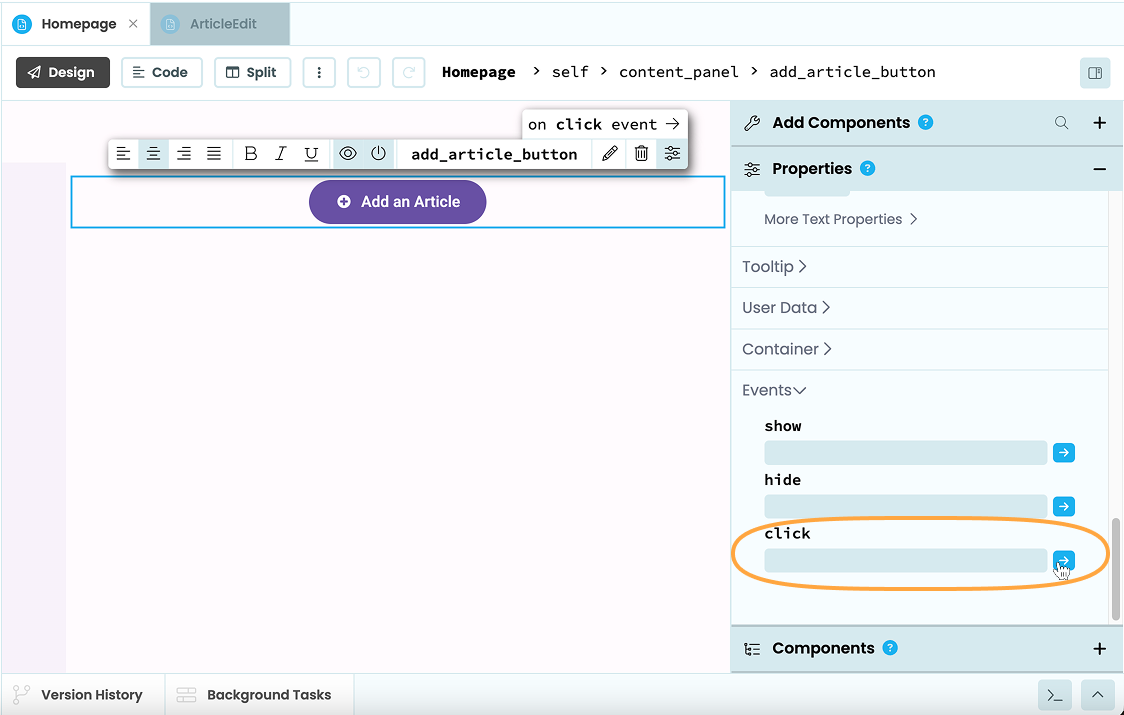
Configuring a click event handler from the Properties pane.
This will open up the code for the Form in Split view (you can always choose the Code tab above the Form to make the code editor full screen). Clicking the blue arrows has set up a method called add_article_button_click that looks like this:
@handle("add_article_button", "click")
def add_article_button_click(self, **event_args):
  """This method is called when the button is clicked"""
  pass
This is the Python method that runs when the ‘Add an Article’ Button is clicked. It is decorated with @handle("add_article_button", "click"). This tells Anvil that the decorated function will run when the add_article_button fires the click event.
When someone clicks this button, we want to display a popup Form that users can fill out to save a new article. We do this using Alerts.
To display a simple alert, change your click handler to trigger an alert as follows:
@handle("add_article_button", "click")
def add_article_button_click(self, **event_args):
# Display a popup that says 'You clicked the button'
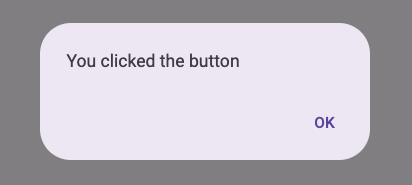
alert("You clicked the button")To see it in action, click the ‘Run’ button at the top of the screen:

You’ll see your app running. Click the ‘Add an article’ button and your popup should appear!
Step 2: Put the ArticleEdit Form in the alert
We want our alert to display the ‘ArticleEdit’ Form. To do this, we first need to import the ArticleEdit Form inside our Homepage Form.
Add this line to the top of your ‘Homepage’ Form:
from ..ArticleEdit import ArticleEditWe can now display the ‘ArticleEdit’ Form in our popup by customising the alert using Anvil’s custom popup styles. Set the content property of the alert to an instance of the ‘ArticleEdit’ Form, set the title property to “Add an article”, and set the large property to True:
@handle("add_article_button", "click")
def add_article_button_click(self, **event_args):
# Open an alert displaying the 'ArticleEdit' Form
alert(
content=ArticleEdit(),
title="Add Article",
large=True,
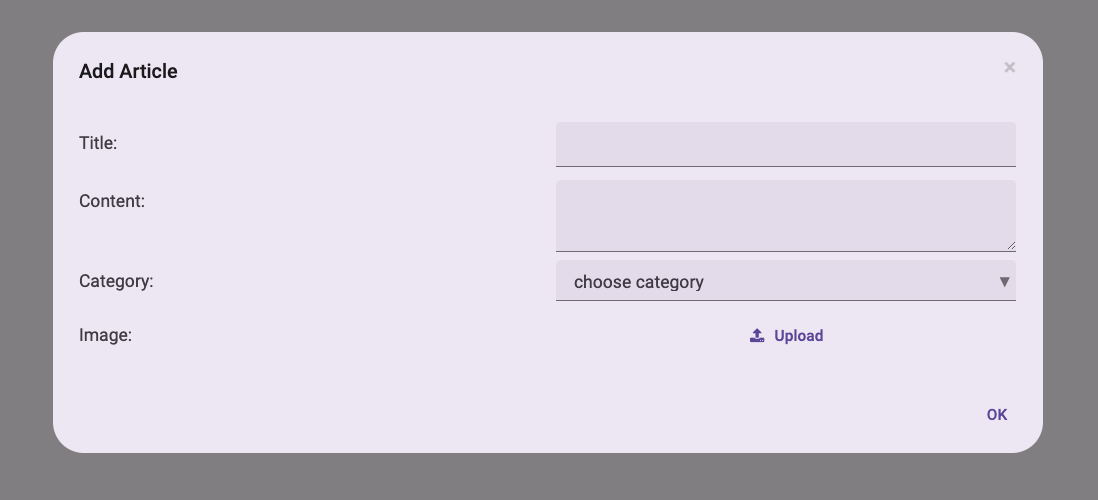
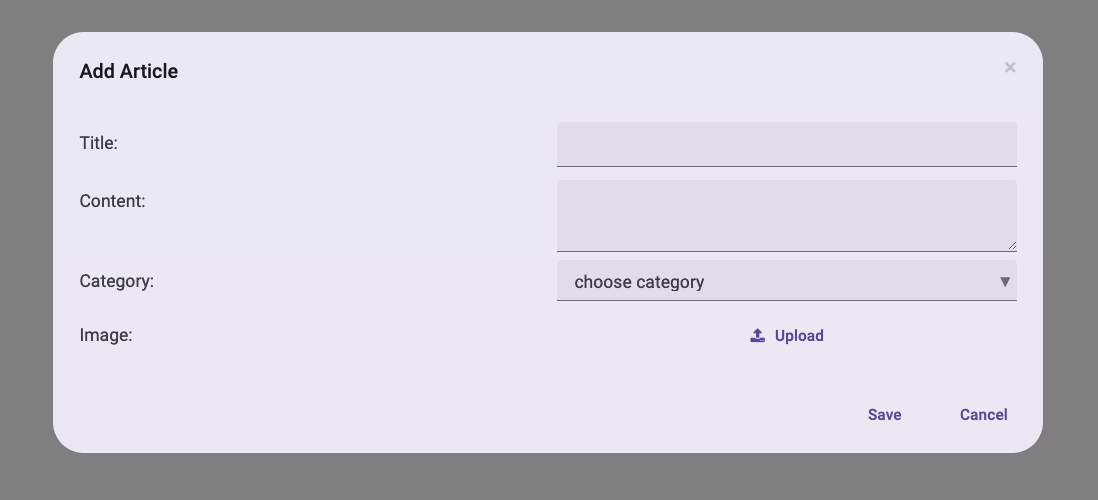
)When you run your app and click the button, you should get the ArticleEdit form in a popup box:
Step 3: Add Save and Cancel buttons
We want to display two buttons on our popup: ‘Save’ and ‘Cancel’. We’ll create a new article if the user clicks ‘Save’ and discard the user inputs if they click ‘Cancel’.
We can do this by setting the alert’s buttons property to be a list of buttons. Each button should be set to a 2-tuple. The first element of each tuple is the text to display on the button, and the second element is the value returned if the user clicks that button.
Add a buttons property to the alert in your add_article_button_click function so that the ‘Save’ button returns True and the ‘Cancel’ button returns False:
  @handle("add_article_button", "click")
  def add_article_button_click(self, **event_args):
    # Open an alert displaying the 'ArticleEdit' Form
    alert(
      content=ArticleEdit(),
      title="Add Article",
      large=True,
      buttons=[("Save", True), ("Cancel", False)],
    )
Let’s run the app and click the ‘Add an Article’ button. We should see the ArticleEdit Form in a popup with ‘Save’ and ‘Cancel’ buttons on the bottom right.
Step 4: Store the data entered in the form
Let’s make the Form store the title, content, image and category input into our ‘Articles’ table when the user hits ‘Save’.
When the information is first entered, we’ll store it in a Python dictionary. Then if the user hits ‘Cancel’, we can just discard the dictionary - nothing is saved in the Data Table.
We’ll store this dictionary in the item property of the ArticleEdit Form.
self.item that can be accessed in the Form’s code. We’ll initialise our ArticleEdit Form with an empty dictionary as its self.item.Edit your add_article_button_click function to look like this. We’ll just print out the dictionary with the user inputs for now:
  @handle("add_article", "click")
  def add_article_button_click(self, **event_args):
    # Initialise an empty dictionary to store the user inputs
    new_article = {}
    # Open an alert displaying the 'ArticleEdit' Form
    save_clicked = alert(
      content=ArticleEdit(item=new_article),
      title="Add Article",
      large=True,
      buttons=[("Save", True), ("Cancel", False)],
    )
    # If the alert returned 'True', the save button was clicked.
    if save_clicked:
      print(new_article)
It’s important to remember to change ArticleEdit() to ArticleEdit(item=new_article)
This means self.item will start as an empty dictionary, and we’ll update it as the user fills in the form.
We can update self.item using Data Bindings. Data Bindings are a way of keeping a component’s properties in sync with the underlying data. You can find Data Bindings near the top of the Properties panel for each component:
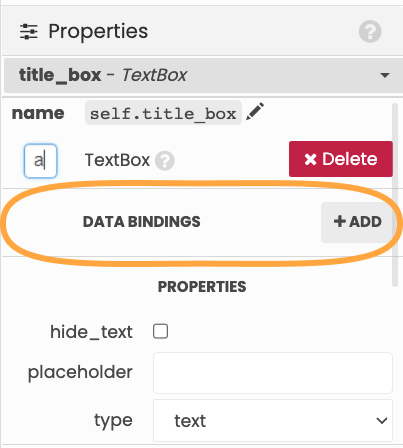
Select the ArticleEdit Form. For each of the ‘Title’, ‘Content’, and ‘Category’ inputs, add a Data Binding to self.item. Since self.item is a dictionary, we can add keys to our dictionary for each of the inputs:
title_box: Bind thetextproperty toself.item['title']content_box: Bind thetextproperty toself.item['content']category_box: Bind theselected_valueproperty toself.item['category']
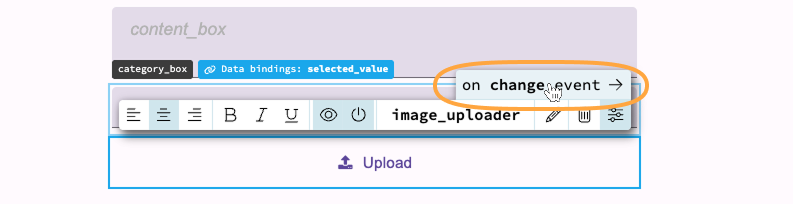
When the user uploads an image to the FileLoader component, we want to add it to self.item. To do this, we can set an event handler on the FileLoader component which will run when the user uploads an image.
Select the FileLoader and click on change event from the Object Palette to set up a method that runs when a new file is uploaded. This method will have a file argument, which is a Media object containing the chosen file:
Edit the image_uploader_change method to store the uploaded file in self.item:
  @handle("image_uploader", "change")
  def image_uploader_change(self, file, **event_args):
    """This method is called when a new file is loaded into this FileLoader"""
    # Add the image to self.item
    self.item['image'] = file
Now run your app, click on ‘Add new article’, fill in all the fields, upload an image and click the ‘Save’ button.
The new_article dictionary will be printed in the Running App Console at the bottom of the screen. The App Console shows the output fof print statements as well as tracebacks from unhandled exceptions. Clicking the tab will open and close the console.
Step 5: Save the data to the 'Articles' table
Right now, we’re storing our data in a Python dictionary - let’s modify our app so that we save it to the database.
We want to create a new row in the Articles table if the user clicks ‘Save’. We’ll write to the Data Table from inside a Server Module.
Anvil’s Server Modules are a full server-side Python environment. Server Modules cannot be edited or seen by the user, so we can trust them to do what we tell them. This is why we’ll use a Server Module to write to the Data Table. (Read more about our security recommendations for CRUD apps.)
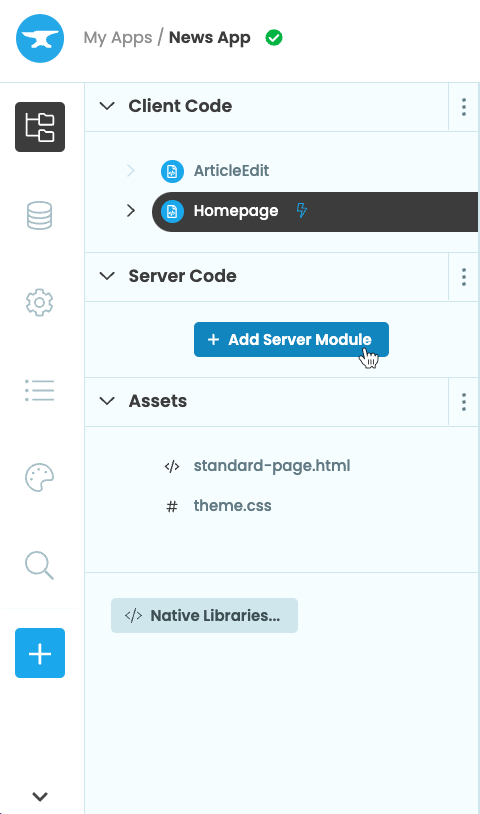
Open the App Browser and create a Server Module by clicking the the blue ‘+ Add Server Module’ button underneath ‘Server Code’. This will open up a code editor.
Let’s now write a server function to add a new row to the Articles Data Table. We’ll use the add_row method to do this.
Add this function to your Server Module:
@anvil.server.callable
def add_article(article_dict):
  app_tables.articles.add_row(
    created=datetime.now(),
    **article_dict
  )
The @anvil.server.callable decorator allows us to call this function from a client-side Form.
We’re using the datetime library to set the ‘created’ column to the current date and time, so you’ll also need to import the datetime class at the top of your Server Module:
from datetime import datetimeThe final step is to call this method from the Homepage Form when the user chooses to save a news article.
We want to call our add_article server function when the ‘Add an Article’ button is clicked and pass in the user inputs. We made our add_article server function available to our client Forms by decorating it as @anvil.server.callable.
This means we can call it from our client-side code using anvil.server.call('add_article', <arguments>)
Let’s call our add_article server function from our add_article_button_click function:
  @handle("add_article_button", "click")
  def add_article_button_click(self, **event_args):
    # Initialise an empty dictionary to store the user inputs
    new_article = {}
    # Open an alert displaying the 'ArticleEdit' Form
    save_clicked = alert(
      content=ArticleEdit(item=new_article),
      title="Add Article",
      large=True,
      buttons=[("Save", True), ("Cancel", False)],
    )
    # If the alert returned 'True', the save button was clicked.
    if save_clicked:
      anvil.server.call('add_article', new_article)
If the user clicks ‘Cancel’, save_clicked will be False, so the data in our new_article dictionary will be discarded.
Run your app again, click the ‘Add an Article’ button, fill in the inputs, and click Save. Now, if you go to the Articles table in your Data Table, you’ll see the article in the Data Table.
Great! We can now add news articles to our Data Table.
That’s the ‘C’ in our CRUD app, and the bulk of the work is out of the way. In Chapter 5, we’ll read the list of stored items and display it to the user. That’s the Read in our CRUD app.