
 By
By Chapter 1:
Create your database tables
Let’s start by creating the Data Tables to store your news articles.
Step 1: Create an app
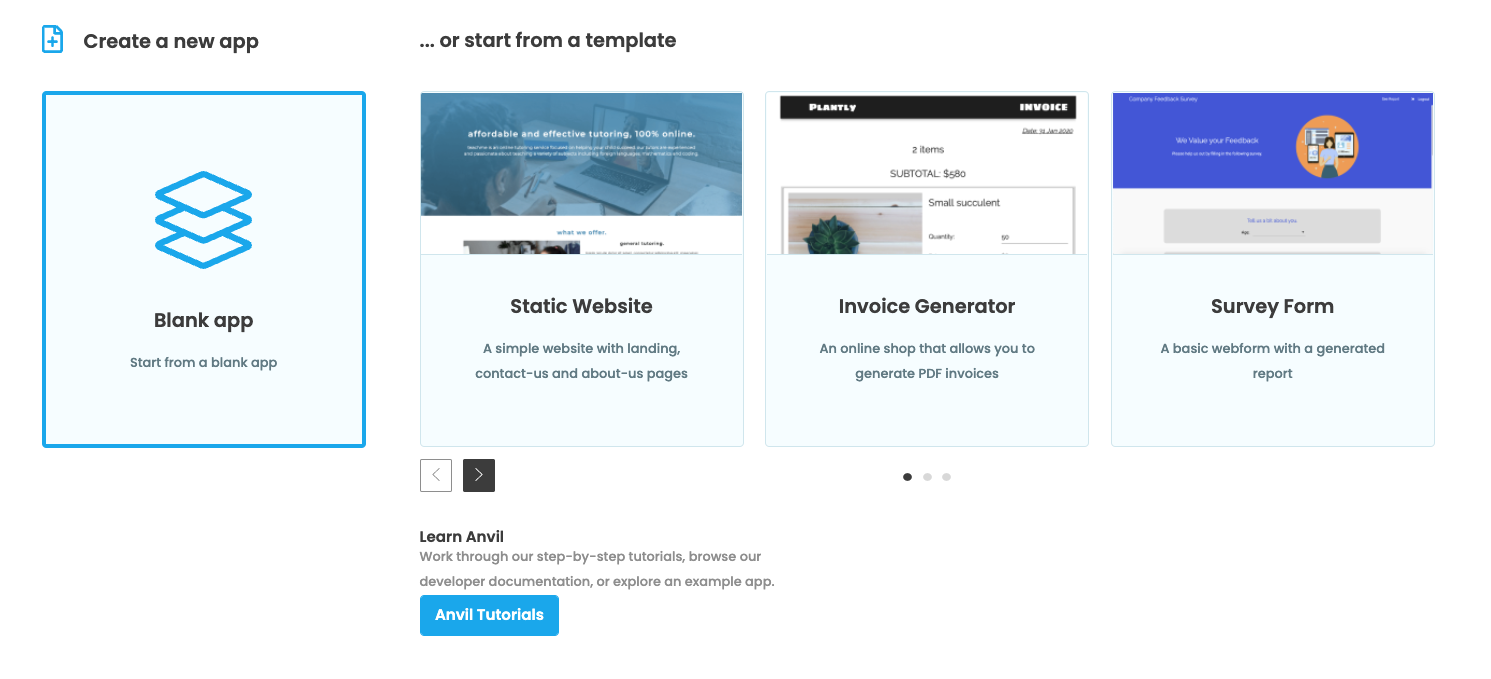
Log in to Anvil and click ‘Blank App’ to create a new app. Choose the Material Design 3 theme.
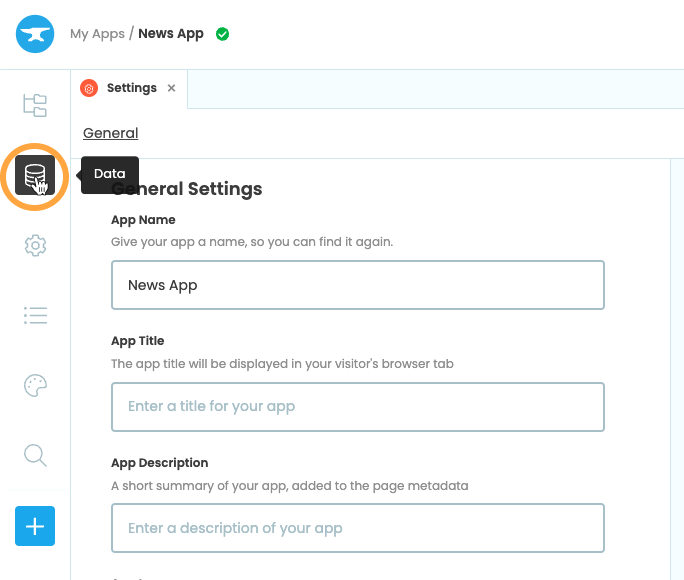
First, name the app. Click on the name of your app at the top of the screen. This will open the General Settings menu where you can change the name and other details of your app. Let’s change the App Name to “News App”
Step 2: Add a Data Table to store articles
We’ll use Data Tables to store our news articles. Data Tables are an out-of-the-box option for data storage in Anvil, and they’re backed by PostgreSQL.
In the Sidebar Menu, choose Data ![]() to open up your app’s database.
to open up your app’s database.
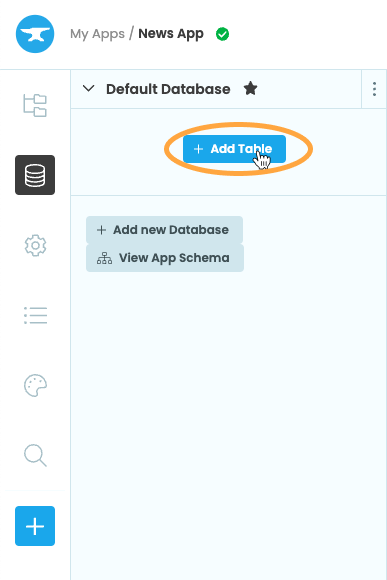
Next, click ‘+ Add Table’ to add a new Data Table to the app.
The new Data Table will be called ‘Table 1’. Let’s rename it. We’ll be using this table to store news articles, so let’s call it ‘Articles’.
Click on the three dots menu  next to ‘Table 1’ and select ‘Rename…’. Change the table’s name to Articles. We can now use this table in code by calling
 app_tables.articles.
Step 3: Set up the Articles table
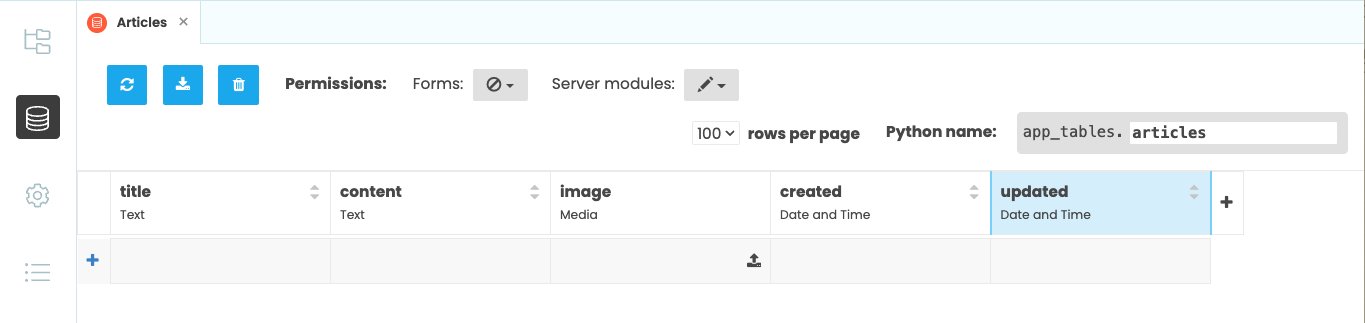
Let’s now set up the Articles table to store the news articles. We’ll need the following columns:
title(Text column)content(Text column)image(Media column)created(Date and Time column)updated(Date and Time column)
To add the title column, click ‘+ New Column’ then choose Add Text column.... Change the column’s name to title.
Continue this process adding the rest of the columns listed above. Make sure you choose the correct type of column. Column names are case sensitive, so let’s keep them lowercase.
Your Data Table should look like this:
Step 4: Add a Categories Data Table
We’re also going to put each article into a ‘category’. These categories are fixed, so we’ll create a second table called Categories to store the categories, and link the Articles table to this new table.
Create your Categories table, with a single column:
name(Text column)
Then add these categories to the table:
- entertainment
- business
- travel
- sport
Finally, create a column in your ‘Articles’ table to store a category for each news article. Click the ‘+’ to add a new column, then follow ‘Link to table…’, ‘Categories’, and select ‘Single Row’. Call this new column ‘category’. This creates a link to the Categories table you just created.
Your Data Tables are set up and ready to use. Nice work!
In Chapter 2, we’ll build a User Interface to display the articles.