 By
By Chapter 2:
Create your database
We’ll use Data Tables to store feedback from our users. Data Tables are an out-of-the-box option for data storage in Anvil, and they’re backed by PostgreSQL.
Step 1: Add a Data Table to store your feedback
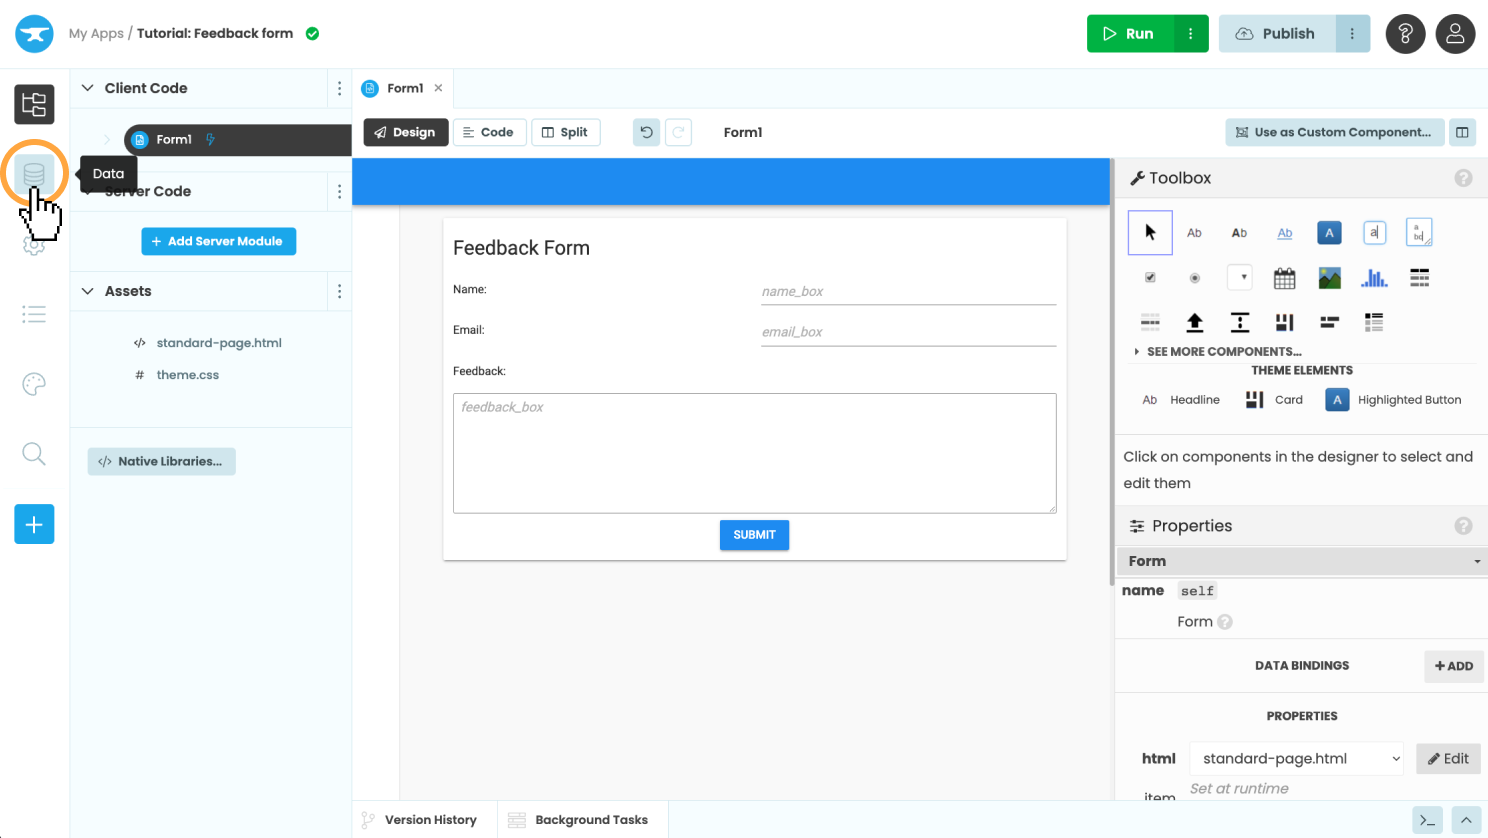
In the sidebar menu on the left, click the database icon ![]() .
.
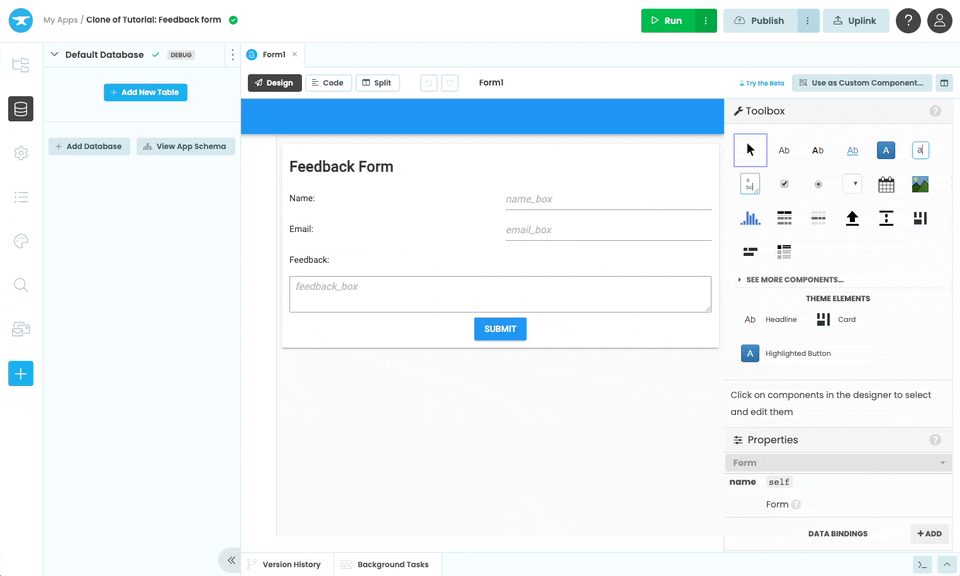
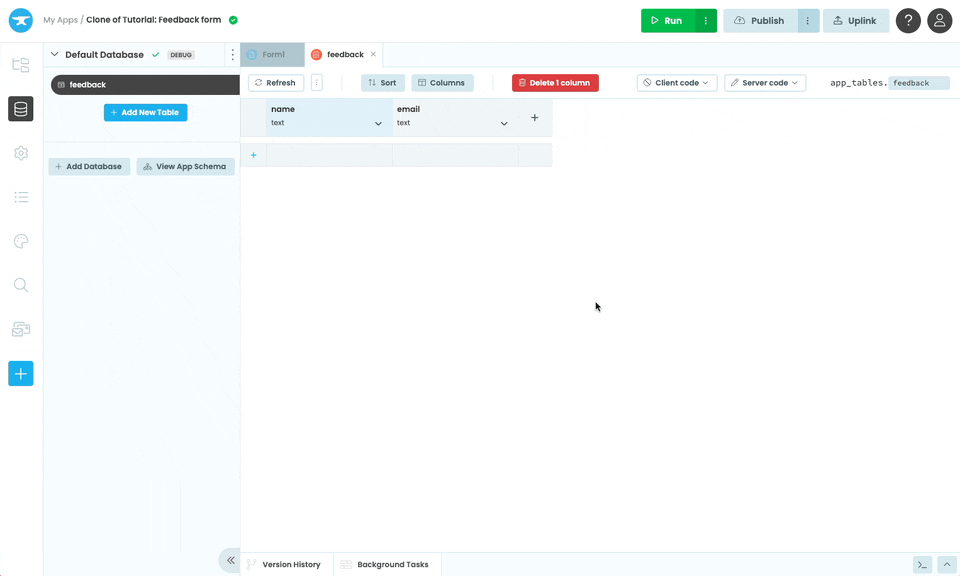
Click on ‘+ Add Table’ and name it ‘feedback’.
Renaming the table
Step 2: Set up your table
Now set up your “feedback” table, with the following columns:
name(Text column)email(Text column)feedback(Text column)created(Date and Time column)
Here’s how to do that:
- Add a column for the name of the person submitting feedback, by clicking ‘+ New Column’. Call this column ’name’ and under Column Type select
Text. Click ‘Ok’. - Keep adding columns until your Data Table has the structure we described above. Column titles are case sensitive, so let’s stick to lower case.
Your Data Table should look something like this:
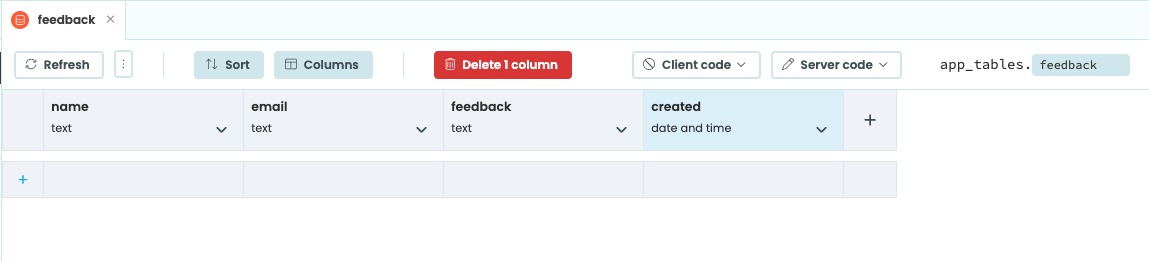
The finished table
In Chapter 3, we’ll write some server-side code to store data in the new Data Table.