 By
By Chapter 1:
Build your user interface
Let’s start by building your UI using Anvil’s drag-and-drop editor.
Step 1: Create an app
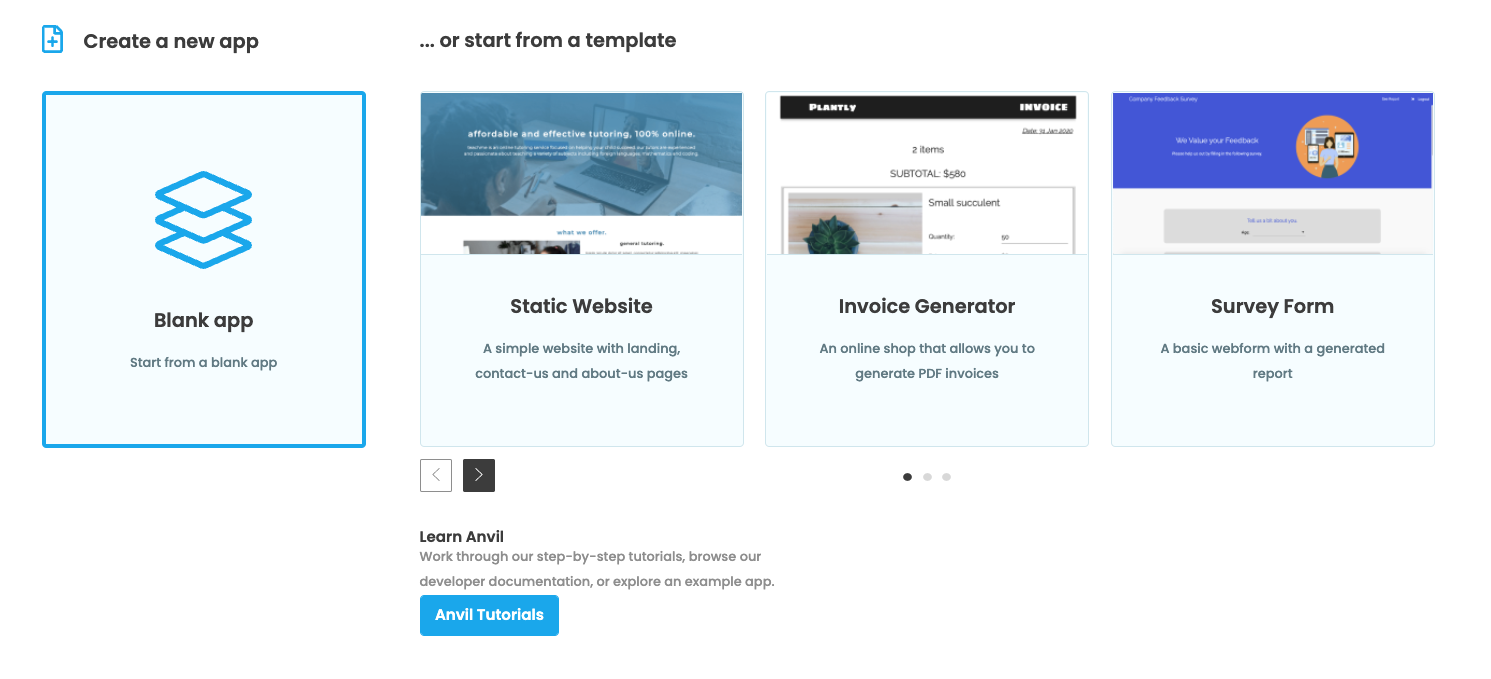
Log in to Anvil and click ‘Create a new app’. Choose the Material Design theme.
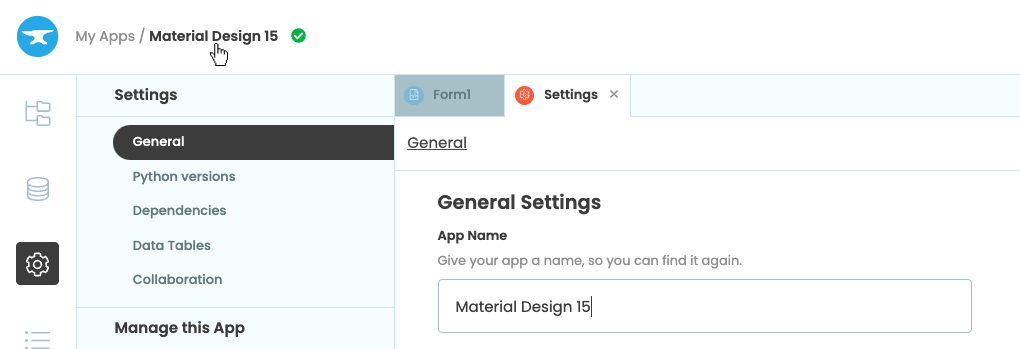
First, name the app. Click on the name at the top of the screen and give it a name.
Step 2: Add the first components
We construct the UI by dragging-and-dropping components from the Toolbox into the page.
The Theme Components part of the Toolbox contains components that are specific to the current app’s Theme. Here, you’ll find the Card component:
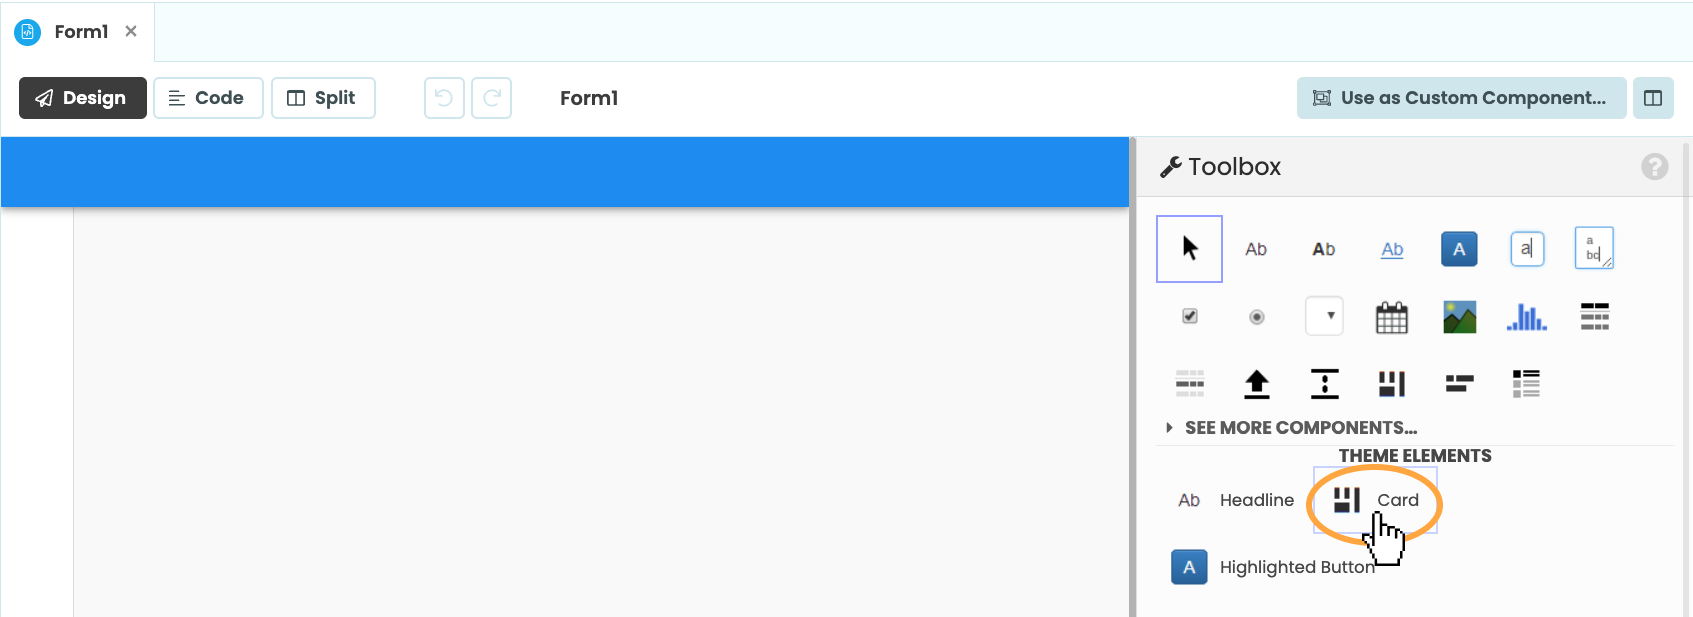
Location of the Card component in the Toolbox
Drop a Card  , and a Label
 ![]() into the page as demonstrated below:
into the page as demonstrated below:
Step 3: Change component properties
Select the Label you just added to the page. Then modify the text to ‘Feedback Form’ by double clicking the Label in the designer.
Below the Toolbox on the right, you’ll find the Properties Panel where you can edit the styling and behaviour of your components. Under Appearance expand the More Appearance Properties section and change the role to Headline.
Step 4: Add field labels
Our feedback form will ask our users for their name, email address, and to leave some feedback.
We’ll use Labels for our input prompts. Drop three Labels ![]() into the page, and change their
into the page, and change their text properties to:
- Name:
- Email:
- Feedback:
Step 5: Add input components
Drop a TextBox ![]() into the page next to our “Name:” label. Then change the component name to
into the page next to our “Name:” label. Then change the component name to name_box by clicking the component name in the Object Palette. Repeat this with another TextBox ![]() beside our “Email:” label and change its name to
beside our “Email:” label and change its name to email_box.
Finally, add a TextArea ![]() underneath our “Feedback:” label and rename it to
underneath our “Feedback:” label and rename it to feedback_box.
We’re changing the name of each user input component, to make it easier to identify them from code.
Step 6: Add submit button
Finally, Drop a Button ![]() into the page. In the Properties Panel:
into the page. In the Properties Panel:
- Change the
namefrom ‘button_1’ to ‘submit_button’ - Change the
textfrom ‘button_1’ to ‘Submit’ - Change the
roleto ‘primary-color’.

In Chapter 2, we’ll set up a Data Table to store the data people enter.