 By
By Chapter 3:
Using the Trello API
Let’s start by getting and storing your Trello API credentials for API calls
Step 1: Getting and storing our API credentials for API calls
For our Anvil app to call the Trello API it will need to use our Trello account’s API key and secret token.
We can find our API key and secret token by logging into our Trello account and navigating to https://trello.com/app-key.
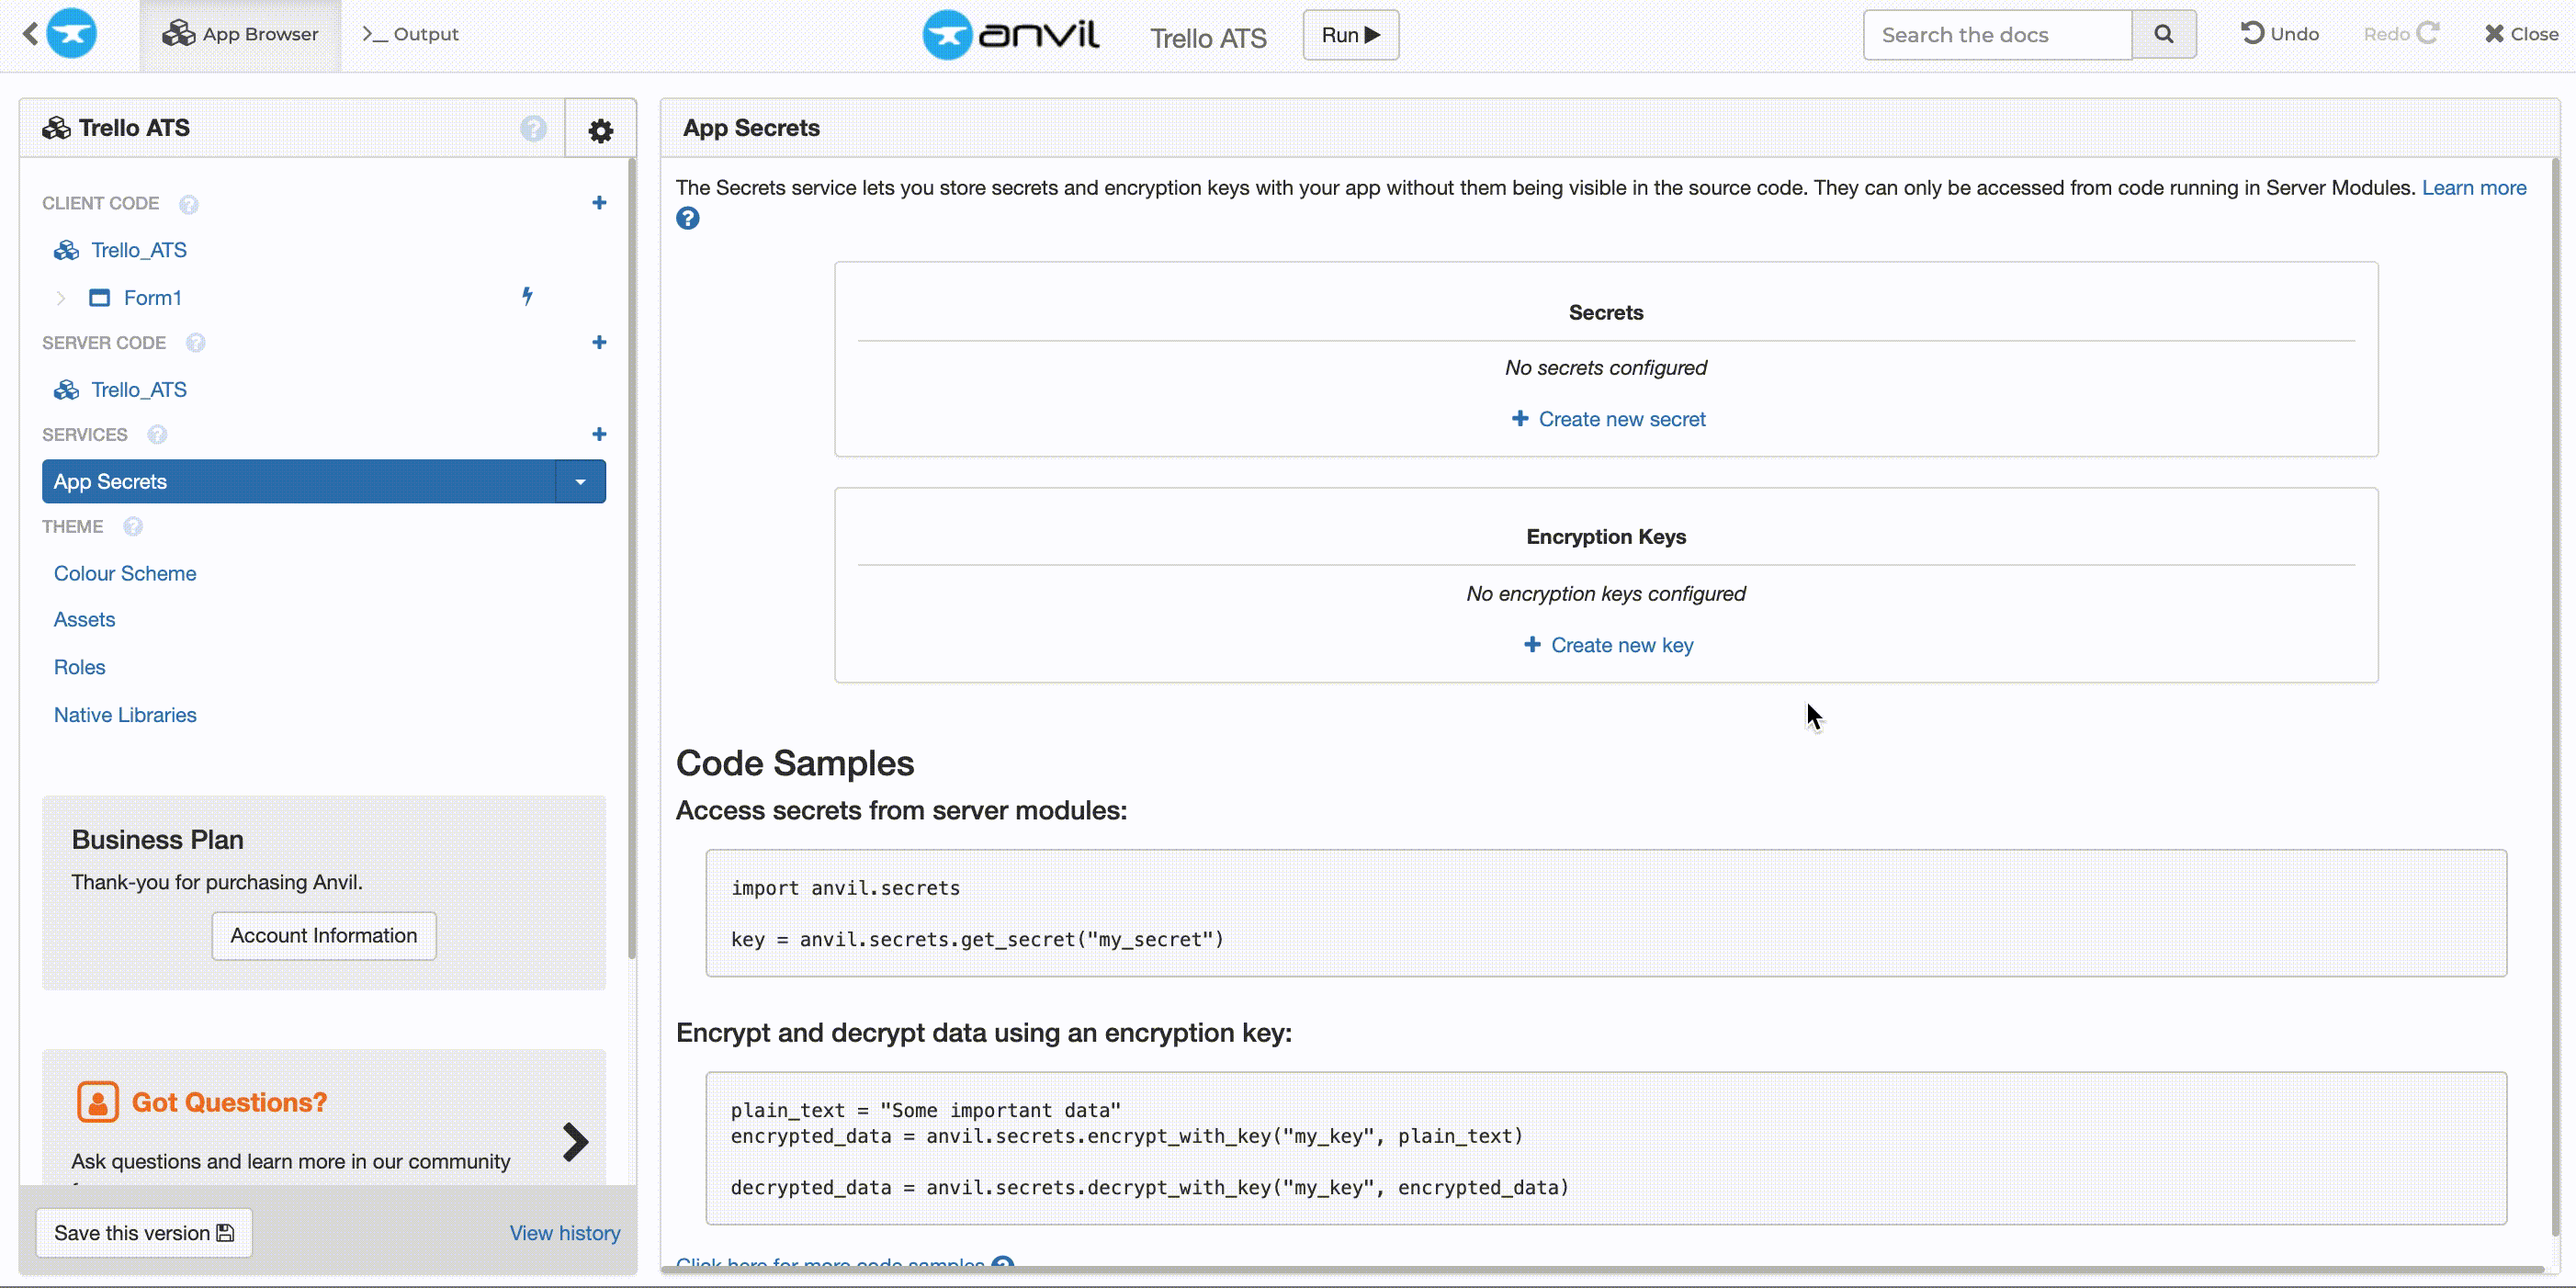
Anvil’s App Secrets service provides easy-to-use encrypted storage we can use for both our key and token. Let’s enable the App Secrets service in the App Browser:
In the secrets section, create a new secret called trello_api_key and set its value to your key. Then create another secret called trello_api_token and set its value to your Trello secret token.
Storing the Trello API credentials
That’s it, now when we need them, we can get them in our app’s code with anvil.secrets.get_secret('trello_api_key') or anvil.secrets.get_secret('trello_api_token').
Now we have our API credentials stored securely within our Anvil app, let’s start writing the functions that will call the Trello API when an application is submitted.
Step 2: Adding a card to our Trello board via the API
We’ll be accessing the Trello API with our (secret) API key, so this needs to happen from trusted code rather than in the browser. So let’s add some server side code to our app.
In the App Browser, click the + next to Server Code to add a new Server Module.
Adding a server module
Next, we’ll import both the Requests and json libraries at the top of our server module.
import requests
import json
Each call to Trello’s API will require the credentials we stored earlier in our App Secret service. To make it easier for ourselves, let’s create a variable for both the key and token at the top of our server module.
KEY = anvil.secrets.get_secret('trello-api-key')
TOKEN = anvil.secrets.get_secret('trello-token')
When a user submits an application, we want a card with all their details to be created in our Trello boards New applications list. That means our create card API call will require the New applications list ID. To find this ID:
- Go to your Trello board
- Add “.json” to end of the URL (For example, if your boards URL is https://trello.com/b/xyz/foo, open https://trello.com/b/xyz/foo.json)
- Search for “New applications” with ctrl + F
- You may find the ID in multiple places but it will look something like:
"list":{"id":"5fb795244f9c3443ad4fa254","name":"New applications"}
Copy the ID and add it to the top of our server module.
NEW_APPLICATIONS_LIST_ID = '5fb795244f9c3443ad4fa254'Now, we can define a function called create_card (which matches the function name we call in our form - see chapter 1 step 4. We will pass our create_card function the arguments name, email, phone, cover_letter and resume. Then, we can give the function the @anvil.server.callable decorator which allows us to call this function from client code.
@anvil.server.callable
def create_card(name, email, phone, cover_letter, resume):
  pass
Now, let’s make an HTTP request to create a new card. We’ll use the requests.request() function and pass it the arguments method, url and params.
The method to create a card is ‘POST’, the url is ‘https://api.trello.com/1/cards' and our params will be a dictionary containing our API key, API token, new applications list ID and the details of the job application.
@anvil.server.callable
def create_card(name, email, phone, cover_letter, resume):
  url = 'https://api.trello.com/1/cards'

  query = {
   # API credentials
   'key': KEY,
   'token': TOKEN,
   # List to create our card on
   'idList': NEW_APPLICATIONS_LIST_ID,
   # Set the card name to be the applicant's name
   'name': name,
   # Position the new card at the bottom of the list.
   'pos': 'bottom',
   # Add a description to the card containing the email, phone and cover letter
   'desc': f'''
      Email: {email}
      Phone: {phone}
      Cover letter:
      {cover_letter}
    '''
  }

  response = requests.request(
   'POST',
   url,
   params=query
  )
Now every time someone submits an application, a new card will be created. Next, let’s add each applicant’s resume as an attachment to their card.
Step 4: Updating the email custom field
Based on Trello’s API reference documentation for updating custom fields, let’s create a function to update the custom email field of our new card.
Let’s begin by getting the custom field ID of our email field. As we did in step 7, search the .json version of our board for ‘customField’ and we should find the ID nested like so: "customField":{"id":"600062fc591ccb535af2e328","name":"Email","type":"text"}. Create a variable for the ID at the top of our server module.
EMAIL_FIELD_ID = '600062fc591ccb535af2e328'Next let’s define a function called update_card_email_field with the arguments card_id and email.
def update_card_email_field(card_id, email):
  pass
In the function, we will build the url for our request with an f string and the expressions {card_id} and {EMAIL_FIELD_ID}.
Then, we create our query containing the API key and token. We’ll make our request and pass it the PUT method, query, headers which tell the API we are sending a JSON object and data which will be the applicant’s email address as a JSON formatted str using json.dumps().
def update_card_email_field(card_id, email):
  url = f"https://api.trello.com/1/cards/{card_id}/customField/{EMAIL_FIELD_ID}/item"

  query = {
   'key': KEY,
   'token': TOKEN
  }

  response = requests.request(
    "PUT",
    url,
    params=query,
    headers={'content-type':'application/json'},
    data=json.dumps({"value": { "text": email }})
  )
Now we have our function to update the email field of a card, let’s add it to the end of our create_card function so the email field is updated with every new card. We can call it using the card ID we got earlier for the attachments function call and the email that is passed to our create_card function.
@anvil.server.callable
def create_card(name, email, phone, cover_letter, resume):
  url = 'https://api.trello.com/1/cards'

  query = {
   'key': KEY,
   'token': TOKEN,
   'idList': NEW_APPLICATIONS_LIST_ID,
   'name': name,
   'pos': 'bottom',
   'desc': f'''
      Email: {email}
      Phone: {phone}
      Cover letter:
      {cover_letter}
    '''
  }

  response = requests.request(
   'POST',
   url,
   params=query
  )
  new_card_id = response.json().get('id')
  create_card_attachment(new_card_id, resume)
  update_card_email_field(new_card_id, email)
Our Anvil app now creates cards on our Trello board, sending over the applicant’s resume and completing a custom field for us.
An app that creates Trello cards for us is good but we make it even better by adding automated emails. Sending rejection emails is time consuming and laborious, so we will use Anvil’s Email service and Trello’s webhooks to email an applicant if their Trello card is moved to our rejected list. Best of all, we can do it in only 3 steps.
In chapter 4, we’ll make the app even better by adding automated emails - meaning we’ll never have to send a rejection email again!