 By
By Deploying your model to the web
Deploying machine learning models is tricky. The skills used to create a model are very different to the skills needed to deploy the model for end-users to interact with. With Anvil, it’s easy to deploy ML models to the web, and we can do it entirely in Python - no need to wrestle with HTML, CSS, JavaScript or web hosting.
In this short tutorial, we’ll use Anvil to turn an ML model into an interactive web application. We will use the classic iris classification problem, for which I have a pre-trained model using sklearn and joblib (if you want to see how I trained this model, check out this tutorial).
We will create an interactive web app that collects the iris measurements from the user, use our model to classify the flower, and return the classification back to our user. Here’s what it will look like:
Demo of the finished app
For this tutorial you will need to know basic Python.
These are the steps that we will cover:
- Step 1 - Create your Anvil app
- Step 2 - Design your page
- Step 3 - Run Python code when you click the button
- Step 4 - Upload our model
- Step 5 - Configure our server environment
- Step 6 - Use our model
- Step 7 - Publish our app
Let’s get started.
Step 1 - Create your Anvil app
Log in to Anvil and click ‘New Blank App’. Choose the Material Design theme.
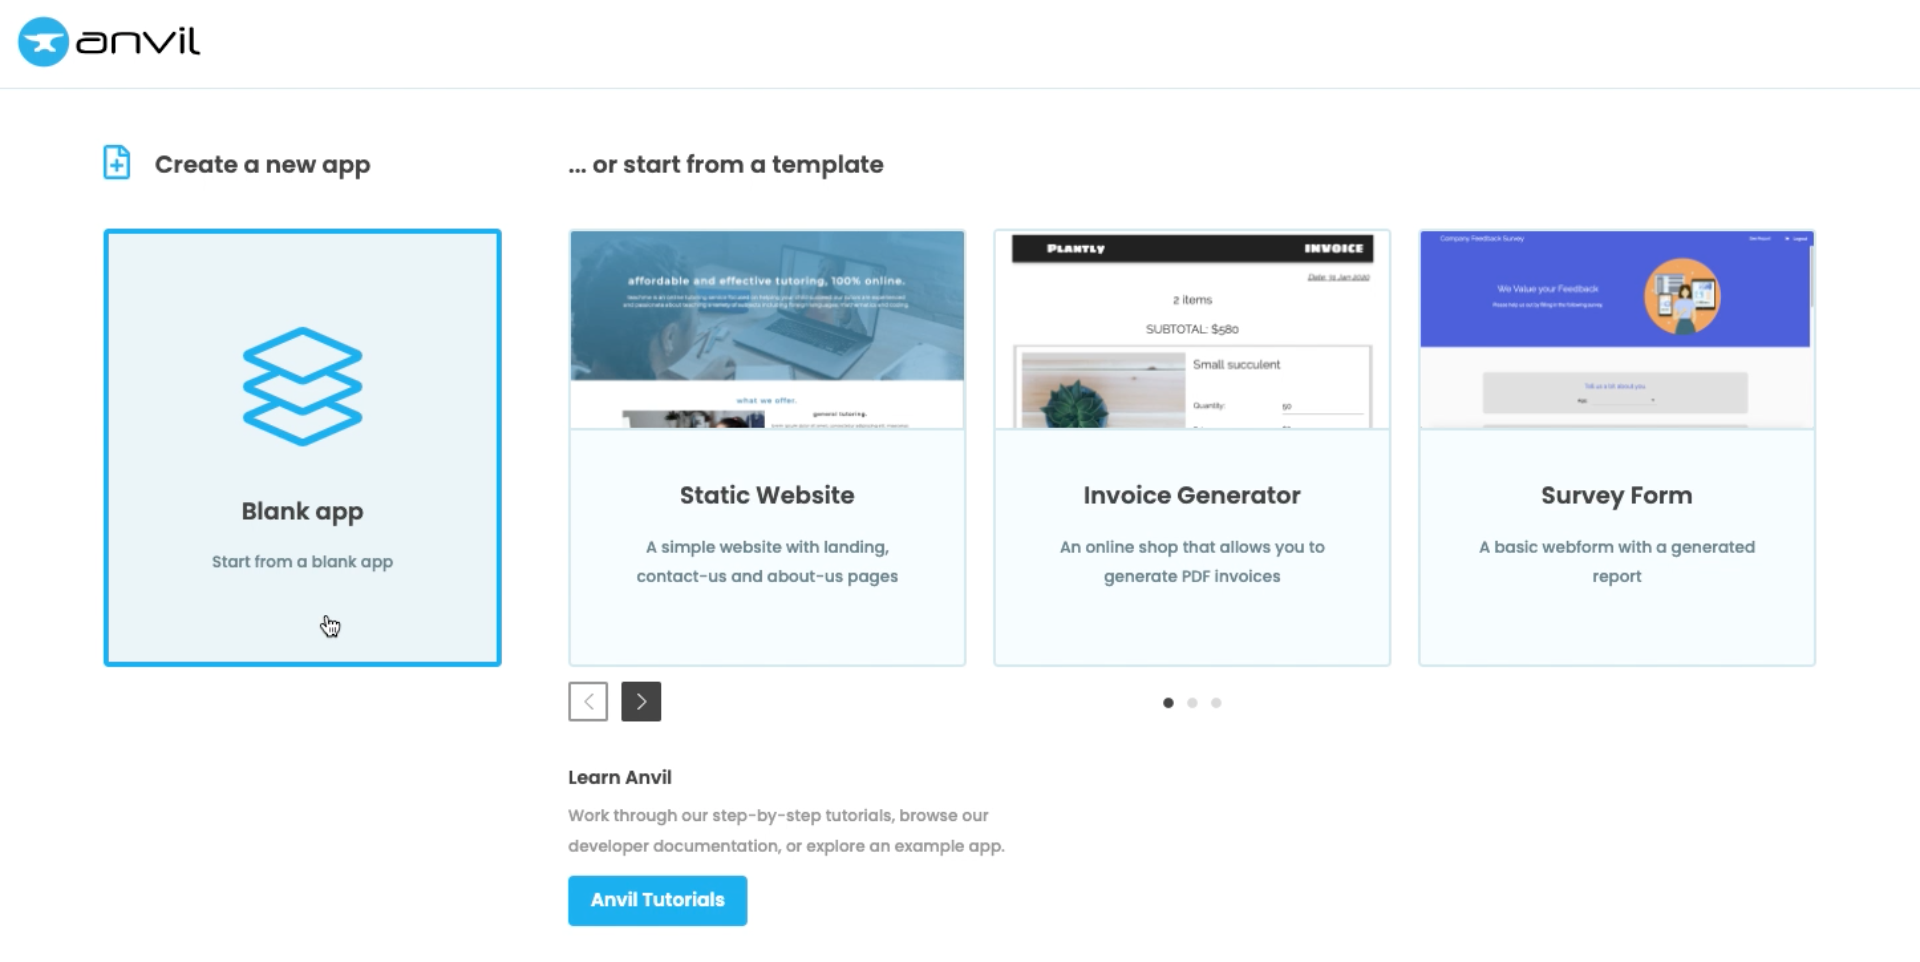
Location of the Create App button
First, name the app. Click on the name at the top of the screen and give it a name.
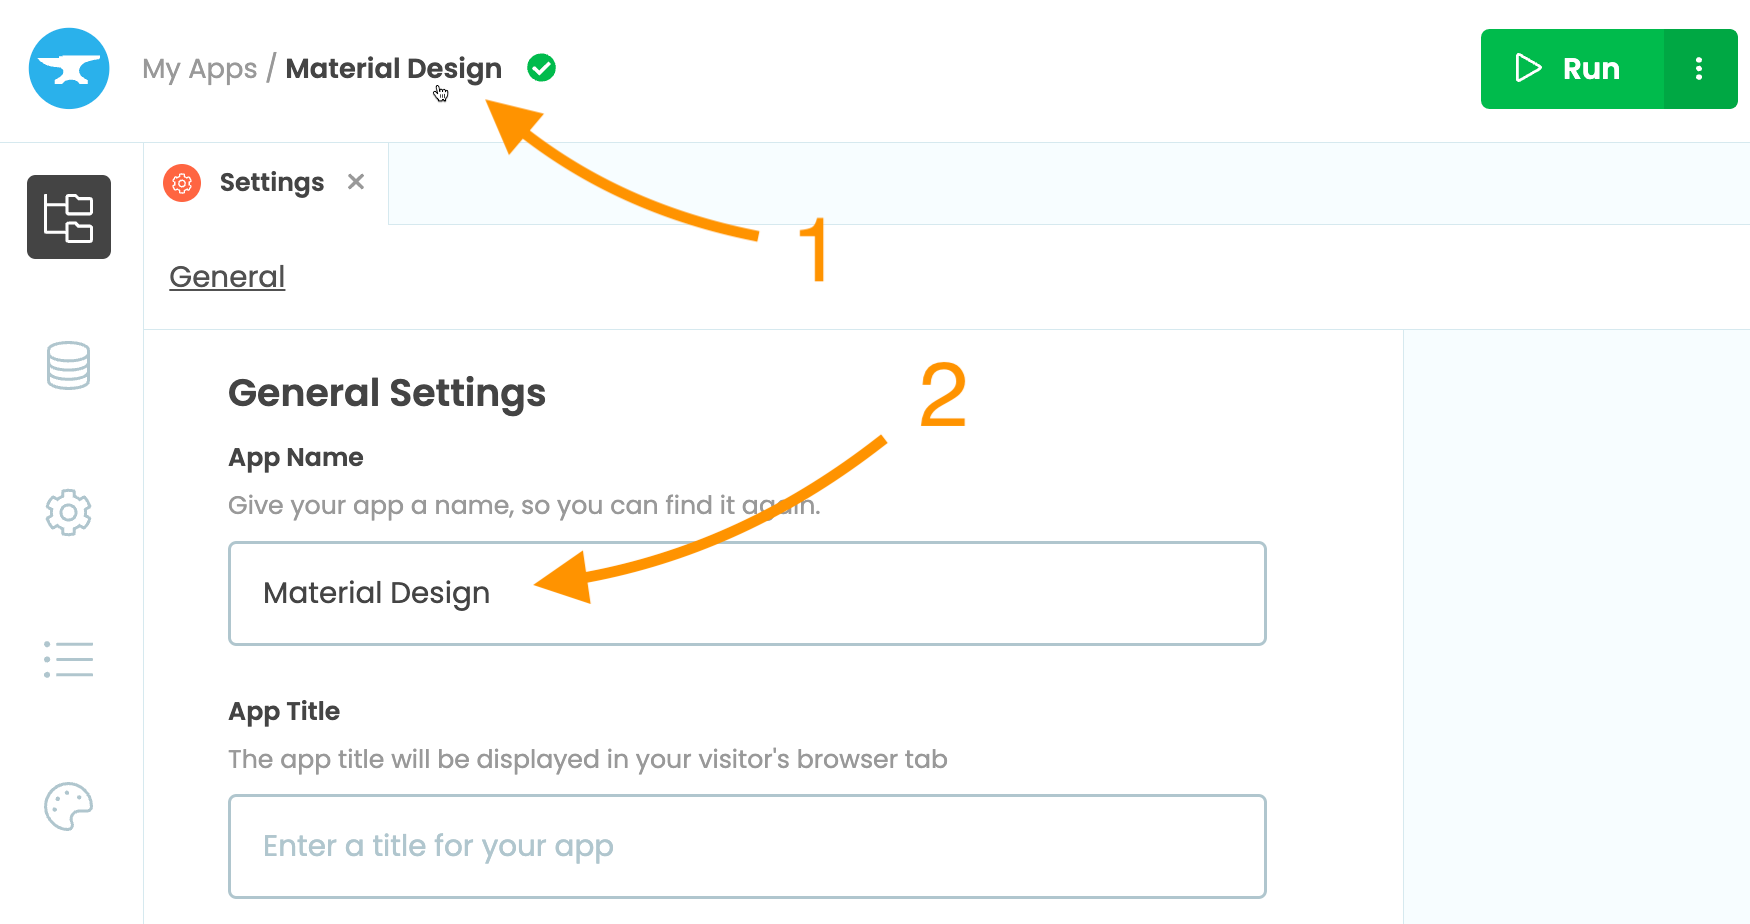
Rename your app by clicking on the title
Step 2 - Design your page
To classify the species of iris a flower comes from, we need to collect several measurements, so let’s design the user interface for entering that data.
We construct the UI by dragging-and-dropping components from the Toolbox. Let’s start by dropping a Card  into our form – this will be a neat container for the other components. Then let’s add a Label
 ![]() and a TextBox
and a TextBox ![]() into the card component:
into the card component:

Dragging a Card component, Label component and TextBox component into Form1
Next we will set up the label and TextBox components to collect the sepal length. Select the Label we just added and, in the properties panel on the right, change the text to ‘Sepal length: ‘. Then select the TextBox we added and change the name to sepal_length, and the placeholder text to ‘(cm)’.
Editing the Label and TextBox
Repeat this process adding labels and text boxes for the other parameters we need: sepal width, petal length and petal width. This will capture all the information we need to classify each iris flower.
Next, let’s add a Button  to run the classifier. Name it
 categorise_button and change the text to ‘Categorise’. Clicking this button will trigger a Python function to classify the iris measurements using our model. (We’ll set that up in a moment.)
Finally, let’s add a Label where we’ll display our results. Put it below the button, call it species_label and untick the visible tick box in the properties panel so it doesn’t appear immediately. In step 3 we will create an event handler function that makes the label visible, and uses it to display data returned from our model.
Our app should now look like this:
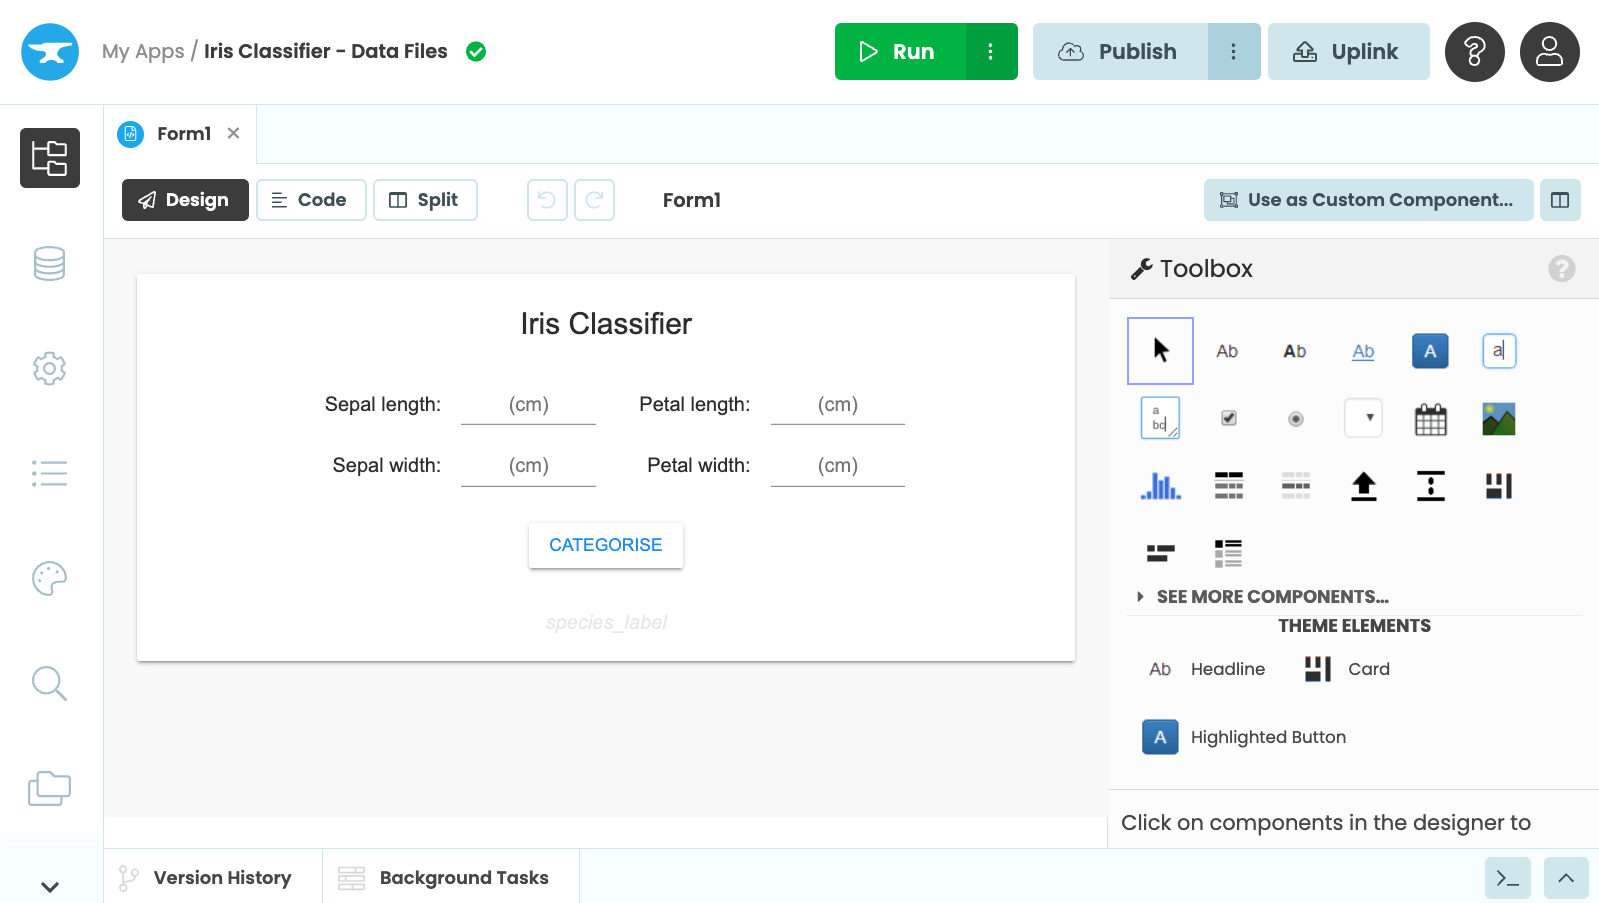
How our app’s UI should look
In the next step we will add some code to control what happens when a user pushes the Categorise button.
Step 3 - Run Python code when you click the button
We want our categorise_button to do something when it’s clicked, so let’s add a click event.
With the button selected, go to the bottom of the properties panel. Then click the blue button with two arrows in it next to the click event box. This will open our code view and create a function called categorise_button_click(). From now on, every time the button is clicked by a user, this function will be called.
Click event being added to the Categorise button
We want to call a function on our app’s server side to interact with our model, and pass it the measurements the user has entered into our web app. When the server function returns our answer, we’ll display it as text on the species_label:
To do this we add the following:
def categorise_button_click(self, **event_args):
    """This method is called when the button is clicked"""
    # Call the server function and pass it the iris measurements
    iris_category = anvil.server.call('predict_iris',
                                int(self.sepal_length.text),
                                int(self.sepal_width.text),
                                int(self.petal_length.text),
                                int(self.petal_width.text))
    # If a category is returned set our species
    if iris_category:
      self.species_label.visible = True
      self.species_label.text = "The species is " + iris_category.capitalize()
Now we have a basic UI and functionality, let’s upload our model to our example app.
Step 4 - Upload our model
Data Files are files that you, as the app developer, can attach to your app. These files are available in your Server Modules. You can do this via the built-in Data File Service. The Data Files service is useful for machine learning models, large datasets and data that stays constant.
In our Anvil app, click the + button in the Sidebar Menu, and select Data Files:
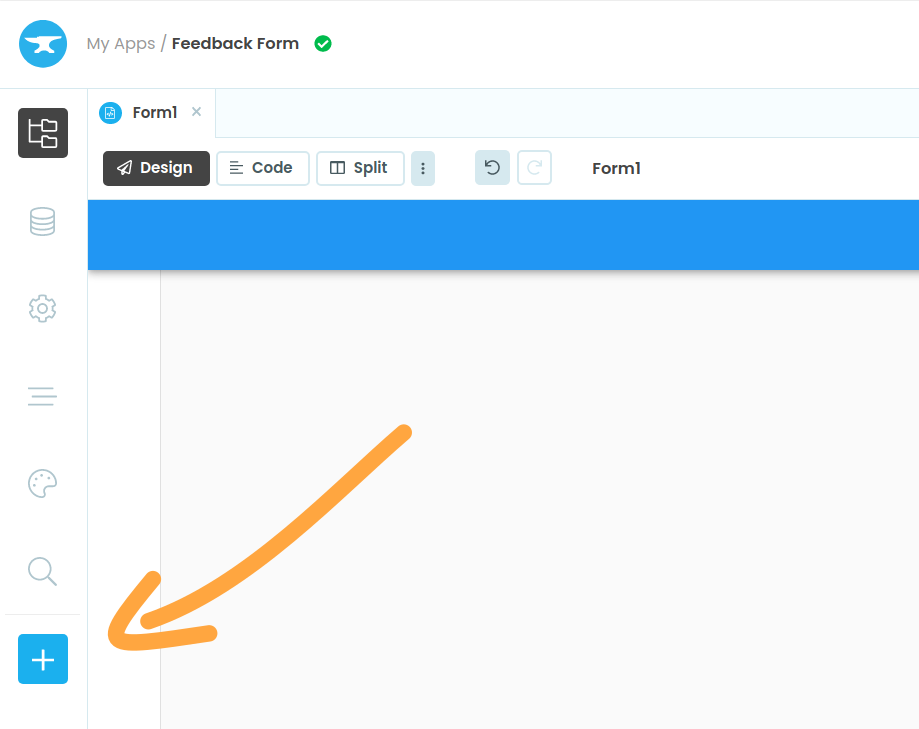
Click the + button in the Sidebar Menu, and select Data Files
Then, let’s upload a classification model for our UI to use. For this guide, I’ve created an example iris classifier model - download it here:
Once you’ve downloaded this file to your computer, upload it into your app’s Data Files by clicking the Upload button and selecting the model from your files.
Uploading the model to our Data Files
Next, let’s create a server function that uses the model to classify our user’s data.
Step 5 - Configure our server environment
Now that our model is uploaded, we need to configure the server environment to include all the packages we need to run it.
We’ll start by selecting ![]() from the Sidebar Menu and opening ‘Python versions’.
from the Sidebar Menu and opening ‘Python versions’.
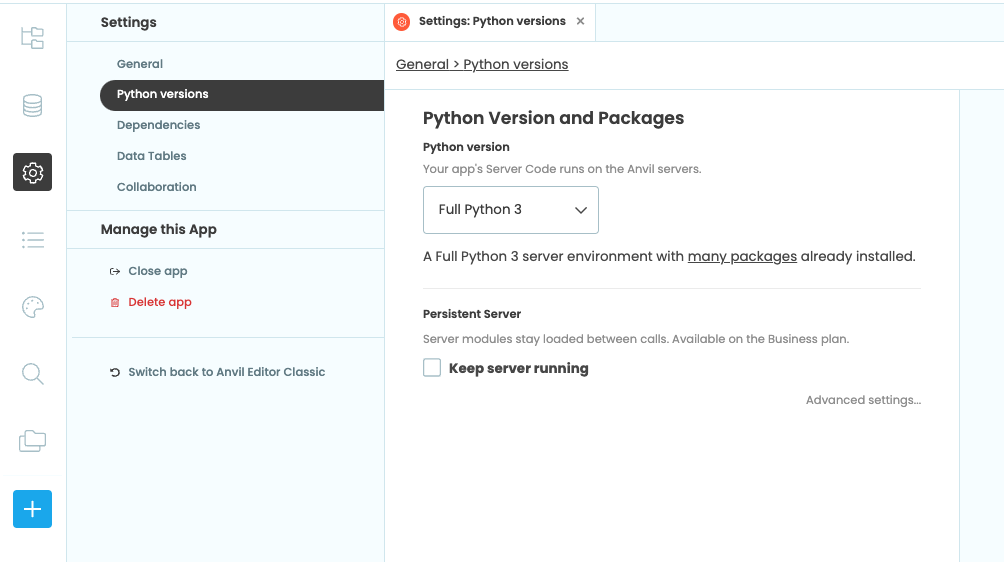
Selecting the Python version
Then, in the Python version dropdown, select ‘Python 3.10’. Under ‘Base packages’, select ‘Edit requirements.txt directly’.
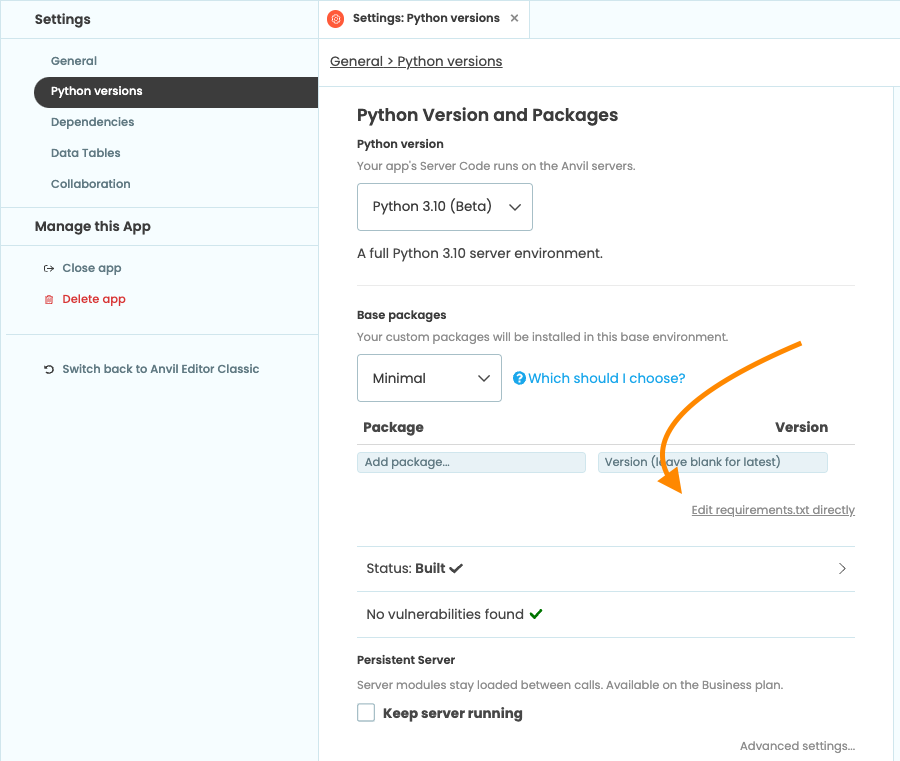
Editing our app’s environment
Finally, paste the following list of requirements into the text box:
joblib==1.1.0
numpy==1.21.6
scikit-learn==1.1.2
scipy==1.9.0
sklearn==0.0
threadpoolctl==3.1.0
With our server environment configured, it’s time to start using our model in a function.
Step 6 - Access our saved model file
We can access our saved model file using the data_files API in a Server Module. Then we can load it into scikit-learn.
To start, let’s add a Server Module to our app by clicking ‘+ Add Server Module’ in the App Browser.
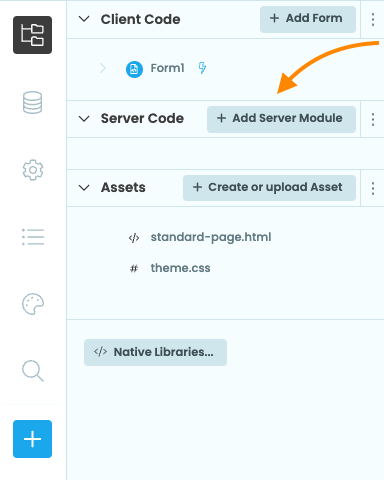
Position of the’+ Add Server Module’
button in the App Browser
At the top of our server module, let’s import the joblib library we need to load our model and import load_iris from sklearn’s built-in iris dataset.
from sklearn.datasets import load_iris
import joblib

# Loading sklearn's built-in iris dataset
iris = load_iris()
With the dataset loaded, we can create a function that takes our iris data and returns the name of the iris species. Let’s create a predict_iris function and add the @anvil.server.callable decorator so the function can be called from our app’s client-side code.
@anvil.server.callable
def predict_iris(sepal_length, sepal_width, petal_length, petal_width):
  pass
Inside the predict_iris function, we’ll load our model from the Data Files service. To do this, we will get the path to the model file on disk using data_files['knn.skmodel'], we can then use joblib.load() to reconstruct our model from the file.
Once we have reconstructed our model, pass our iris flower data to model.predict() and return the name of the flower.
@anvil.server.callable
def predict_iris(sepal_length, sepal_width, petal_length, petal_width):
  model = joblib.load(data_files['knn.skmodel'])
  classification = model.predict([[sepal_length, sepal_width, petal_length, petal_width]])
  return iris.target_names[classification][0]
Back in step 3 of this tutorial, we wrote anvil.server.call('predict_iris', ...) in our categorise_button_click() function on the client side. Adding the @anvil.server.callable decorator to our server-side predict_iris() function means it can be called from the client.
Step 7 - Publish our app
Now we’ve finished our app, all we have to do is test it and publish it online for people to use.
Let’s quickly test the app to make sure it works. We can click the ‘Run’ button in the top right of the Anvil Editor to run the app in split view and try it out.
Running the app in the editor
If there is an issue, the App Console will appear and show the exception that was thrown. You can click on the exception and the editor will take you to the line of code that caused it.
Fixing a bug
With the app tested, we can click the ‘Publish’ button at the top right of the editor. Then select ‘Publish this app’ and use the public URL provided or enter your own.
Publishing the finished app
That’s it, our app is now finished and online for anyone to use!
Conclusion
We now have an interactive app based on our machine learning model. We’ve designed a UI, written client-side Python, uploaded our machine learning model, written server-side code that uses our model and deployed the app online for anyone to use - all with nothing but Python!
Clone the App
For those of you who want to see the source code for this app:
What next?
Head to the Anvil Learning Centre for more tutorials, or head to our examples page to see how to build some complex apps in Anvil.
Why not check out the Anvil Community Forum? There are a lot of knowledgeable people there, and it’s a great place to get help.
Optional: Challenge yourself
This part is optional! The best way to learn any new technology is to challenge your understanding. Why not challenge yourself to reinforce what you’ve learnt and learn more?
Challenge 1 - Add an image to your app
Add an Image component to your app’s interface and set its source based on the returned iris classification. You can set the source of the image to one of the following three URLs in the categorise_button_click function:
- Virginica: https://upload.wikimedia.org/wikipedia/commons/f/f8/Iris_virginica_2.jpg
- Versicolor: https://upload.wikimedia.org/wikipedia/commons/2/27/Blue_Flag%2C_Ottawa.jpg
- Setosa: https://upload.wikimedia.org/wikipedia/commons/5/56/Kosaciec_szczecinkowaty_Iris_setosa.jpg
Challenge 2 - Store your results in a Data Table
Try storing the classification results in Anvil’s built-in database.
Hint: Add a Data Table to your app to store the classification results. Then, use Anvil’s add_row() in your app’s predict_iris function. This will add a row to your database each time a classification is completed.
Challenge 3 - Turn the app into an HTTP API
You can build an HTTP API for your app by decorating the predict_iris function with the @anvil.server.http_endpoint decorator. Why not try creating an API for your app for other people to use?
New to Anvil?
If you’re new here, welcome! Anvil is a platform for building full-stack web apps with nothing but Python. No need to wrestle with JS, HTML, CSS, Python, SQL and all their frameworks – just build it all in Python.
Yes – Python that runs in the browser. Python that runs on the server. Python that builds your UI. A drag-and-drop UI editor. We even have a built-in Python database, in case you don’t have your own.
Why not have a play with the app builder? It’s free! Click here to get started: