 By
By Implementing SSO with the power of XML
In the previous post in this series we covered Single Sign-On, what it is, and what it means for web services. This time, we’re taking a deep technical dive into one of the two main technologies that are used to implement it: Security Assertion Markup Language, colloquially known as SAML. So what is it, and how can we use it for SSO?
SAML defines an interoperable, standardised protocol for letting a web service (in SAML world, a Service Provider or SP) authenticate a user with an identity provided by an external party (an Identity Provider or IdP). In essence, SSO with SAML allows a Service Provider to delegate its user authentication responsibilities to an Identity Provider. All the communications between the SP and the IdP follow a particular XML format, and SAML protocols can also handle use cases for authorization and identity provider discovery - but, in this blog post, we’ll be focusing specifically on the web SSO use case.
SAML from beginning to end
Let’s say you’re a web developer who wants to be able to use SAML SSO to authenticate your users. What exactly do you have to know?
A typical SAML 2.0 SSO authentication flow goes like this:
- The user visits the Service Provider with their browser.
- The Service Provider redirects the user to the Identity Provider, along with a SAML Authentication Request.
- The user authenticates with the Identity Provider, if they aren’t already authenticated.
- The Identity Provider returns the user to the Service Provider, along with a SAML Authentication Assertion.
- The Service Provider cryptographically verifies that authentication assertion.
- The user is now authenticated with the Service Provider.

Instead of authenticating the user directly, the Service Provider sends them off to the Identity Provider to handle it.
There are a couple of different ways some of these steps can happen, but the broad strokes stay the same. One interesting property of this flow is that the SP and IdP never actually communicate directly. They redirect the user’s browser back and forth along with SAML Requests and Assertions, but they don’t actually need to be on the same network, which means you can use an IdP that’s on a private corporate network to authenticate with an SP that’s on the public internet.
Before the above flow can happen, both the SP and the IdP need to be configured to trust each other, which is done by exchanging some key information between them. In order to get everything set up, you’ll need to understand a bit more about what exactly those entities are.
What is a Service Provider?
If you want to use SAML SSO to let users authenticate wtih your web service, you’ll have to set that web service up to act as a Service Provider for SAML purposes. Perhaps you’re using a development platform with a SAML integration (like Anvil!), in which case this is simple - but, if you’re doing it from scratch, here’s what you need to know.
The key features of a Service Provider which allow it to interact with an Identity Provider are these:
- It has a unique identifier which allows Identity Providers to keep track of it
- It owns a signing certificate, which allows Identity Providers to trust the messages it sends
- It has a specific HTTP endpoint, which allows Identity Providers to know where to send any replies (including Authentication Assertions)
- It needs to be able to send users to an Identity Provider in order to authenticate, and to be able to understand whatever response the Identity Provider returns.
Let’s look at the three first bullet points. When configuring a relationship between your SP and IdP, all those pieces of information about your Service Provider need to be given to the Identity Provider you’d like to use. Lots of IdPs provide a neat way to do this: they expect a metadata file produced by your SP, which bundles all this information up. If you’re building a Service Provider, you might like to add functionality to construct and download a file in the expected format.
Below is an example Service Provider metadata file (downloaded from an Anvil app), which illustrates how each of those 3 pieces of information fit into it.
<?xml version="1.0"?>
  <md:EntityDescriptor xmlns:md="urn:oasis:names:tc:SAML:2.0:metadata" validUntil="2020-10-23T14:15:21Z" cacheDuration="PT604800S" entityID="http://anvil.works/apps/_/saml-app/79aac3df685d66" ID="ANVIL_444fcc73">
    <md:SPSSODescriptor AuthnRequestsSigned="true" WantAssertionsSigned="true" protocolSupportEnumeration="urn:oasis:names:tc:SAML:2.0:protocol">
      <md:KeyDescriptor use="signing">
        <ds:KeyInfo xmlns:ds="http://www.w3.org/2000/09/xmldsig#">
          <ds:X509Data>
            <ds:X509Certificate>
              -----BEGIN CERTIFICATE-----
              MIIE...
            </ds:X509Certificate>
          </ds:X509Data>
        </ds:KeyInfo>
      </md:KeyDescriptor>
      <md:NameIDFormat>
        urn:oasis:names:tc:SAML:1.1:nameid-format:emailAddress
      </md:NameIDFormat>
      <md:AssertionConsumerService Binding="urn:oasis:names:tc:SAML:2.0:bindings:HTTP-POST" Location="http://anvil.works/apps/_/saml_auth_login" index="1"/>
    </md:SPSSODescriptor>
  </md:EntityDescriptor>
Firstly, within the md:EntityDescriptor tag, there’s an attribute called entityID, the value of which is the unique identifier for your Service Provider. Then, further down, we can see a ds:X509Data section, which is where your Service Provider’s signing certificate would be placed. (In the above example, the certificate itself is truncated for brevity).
Finally, within the md:AssertionConsumerService tag, we can see a Location attribute, containing a URL. This is the endpoint to which the Service Provider expects any responses to be sent. Within that tag is also a Binding attribute, which tells the Identity Provider that (in this case) the SP expects any responses to that endpoint to be sent via an HTTP-POST request.
Even if an Identity Provider doesn’t have an option to upload a metadata file from your Service Provider, it will definitely need to ask you for these three pieces of data in some other way. Without them, it won’t know what your service is, why it should trust it, or how to talk to it.
So, once you’ve defined those three aspects of your Service Provider, you’ll need to address the last bullet point on the list above: your SP needs to be able to actually interact with the Identity Provider. That means sending users there when they want to authenticate, and understanding what the Identity Provider tells you about them when they come back. In order to make that happen, we’ll need to understand more about what an Identity Provider does.
What is an Identity Provider?
The things that an Identity Provider needs - perhaps unsurprisingly! - mirror those of a Service Provider. Here’s what defines an IdP:
- It has a unique identifier which allows Service Providers to keep track of it
- It owns a signing certificate, which allows Service Providers to trust messages it sends
- It has a specific HTTP endpoint, which allows Service Providers to know where to send their Authentication Requests
- It needs to be able to receive Authentication Requests from Service Providers, handle those requests (including authenticating users), and send a reply that the Service Provider can understand.
Just as with Service Providers, it’s typical for the three pieces of information above (identity, certificate and endpoint) to be bundled into a metadata file. The main difference between the two types of metadata file is that rather than an AssertionConsumerService URL (which is where a Service Provider consumes Authentication Assertions), an Identity Provider will have an SingleSignOnService URL (where it consumes Authentication Requests for the purposes of SSO).
As mentioned above, there are a couple ways configurations can differ - for example, the IdP can expect the user to be sent over with either a HTTP-GET or HTTP-POST request, or sometimes either - and all this information would also be expressed in the SP’s metadata document.
Authentication Requests and Assertions
With the above information successfully exchanged, our Service Provider and our Identity Provider know who each other are, how to trust each other’s messages, and where to send any messages of their own. Great! So what’s actually in those messages?
To kick off the process of authenticating a user with SAML, a user visits the Service Provider’s website or app (step 1 in the flow above). The Service Provider will then send that user to the Identity Provider along with an Authentication Request (step 2). This Request is contained within an XML document, and that document is then sent as a query parameter on an HTTP request (made from the user’s browser) to the Identity Provider’s SingleSignOnService URL. This Authentication Request can contain information such as:
- The identity of the Service Provider which is making the request
- What kind of authentication the SP wants the IdP to perform (for example, whether it should require a password from the user who’s trying to authenticate)
- Whether the user should be allowed to create a new account when they arrive at the IdP (thus allowing a new user to authenticate with the Service Provider)
The Request is contained within a larger XML document which should also include a Signature section; that sections then contains a signature over the Authentication Request, generated using the Service Provider’s signing certificate. This signature allows the Identity Provider to verify that the request was sent by the Service Provider and that it hasn’t been tampered with in transit. All this would be pretty standard public-key cryptography procedure if the payload were a byte-string rather than XML, but - as we’ll discuss later - multiple byte-strings can represent the same XML data, and this can introduce complications down the line.
The Authentication Assertion that the Identity Provider sends once the user has authenticated is very similar; it’s sent (also via HTTP) to the Service Provider’s AssertionConsumerService URL, and it can include the following:
- The identity of the IdP
- The identity of the Service Provider for whom the Assertion is intended
- The identity of the user who has authenticated, and optionally some attributes that the IdP has stored about them (for example, name or email address)
- How that user authenticated (for example, as above, using a password)
- The conditions under which the Assertion should be considered valid (for example, only within a certain time window)
Just like the Request made by the Service Provider, the Assertion is contained within a larger XML document, which also contains a signature over that Assertion.
When the Service Provider receives that Authentication Assertion and verifies its signature, it can be confident that the user has successfully completed the required login flow, and safely let them access login-restricted resources. You’re done!
SAML and security
SAML’s security posture is as follows: when the SP and IdP are being configured to trust each other, part of the data exchanged between them is access to each other’s X509Certificate - a certificate used for public-key cryptography. Typically, whenever a SAML message (in XML format) is then sent between the two parties during an authentication flow, that XML will be signed by the sending party, using their private key. The receiving party will then be able to use the X509Certificate that they have been given in order to verify that that SAML message is definitely from the sending party and that the data hasn’t been modified during transit.
Over the years, there have been a lot of vulnerabilities found in SAML systems, of various kinds. Most of them stem from the fact that the entire framework is based on XML, which is optimised for flexibility rather than a single robust path.
Let’s take a look at one particular way that that flexibility can introduce vulnerabilities.
Signatures and Canonical forms
As mentioned above, SAML uses what sounds like fairly standard public-key cryptography - but there’s a complicating factor: signing XML data is hard.
The fundamental problem with signing XML is that two different XML documents could represent the same information. For example, look at these two tags:
<saml:Issuer>http://sp.example.com/demo1/metadata.php</saml:Issuer> < saml:Issuer ><http://sp.example.com/demo1/metadata.php</ saml:Issuer >These mean the same thing, but if you consider them as two series of bytes, they’re different and would therefore result in different signatures. During the parsing and handling of XML data that needs to happen during a SAML authentication flow, it’s entirely plausible that two different legal representations of the same data might emerge. There needs to be a way of distinguishing when two XML documents are ‘really’ the same; that’s what canonicalisation does for us.
However, this is both complicated and difficult. In fact, the SAML specifications lay out three different algorithms for it! Again, this flexibility increases the potential for vulnerability.
Flying under the radar with XML comments
A few years ago a new vulnerability was also discovered, which allowed an attacker to masquerade as a fully authenticated user. There’s a great write-up of it here, but the long and short of it is as follows:
Not every XML parsing library handles things such as comments consistently, and some canonicalisation algorithms ignore comments. This allows for a malicious user to use comments to alter various aspects of the XML request that gets sent to the Identity Provider. In particular, they could affect the way that the Identity Provider parses the identity of the user who is trying to authenticate.
But wait! It gets worse: the cryptographic signature is generated over the canonicalised version of the document. Because, in this case, that canonicalisation is ignoring comments, this means that even the “tamper-proof” cryptography won’t pick up on the fact that the assertion the attacker is presenting is not what the IdP signed. Thus, an attacker can present an apparently valid signature over an assertion for an arbitrary user, and authenticate as them.
These days, many SAML implementations have addressed this vulnerability by switching to XML parsing libraries that handle comments in a safe way, and introducing checks against this specific kind of attack.
In general, SAML is widely used enough that it’s had quite a few eyeballs on it, and - as is often the case with SSO technologies! - if it breaks, you at least won’t be the only one in hot water. However, if you’re implementing your own SAML system, there are plenty of ways you can leave yourself open to attack.
What are the drawbacks?
These security concerns are worth taking seriously; if you’re building logic for a Service Provider, you’ll need to use a SAML library that addresses them (and keep your eyes peeled for any new vulnerabilities that are discovered). If you’re writing a SAML or XML-parsing library, then you definitely need to make sure you understand and guard against the kind of attacks described above!
Another obvious drawback is the amount of overhead involved in using SAML for SSO. In theory, it can be as simple as downloading two metadata files and uploading them in the right places, but not all SPs and IdPs let you do this quite so easily. If that’s the case, you’ll have to understand SAML pretty well in order to get things off the ground. This is one of the reasons for the development of OpenID Connect, the other major technology used to implement SSO, which we’ll be covering in the next blog post in this series.
Of course, none of these drawbacks will affect you if you want to enable SAML SSO for your Anvil apps; we’ve got out-of-the-box, up-to-date SAML integration. It’s a single click to add to your app, and setting up a SAML relationship with your Identity Provider of choice is as straightforward as can be. Check out our documentation to learn more.
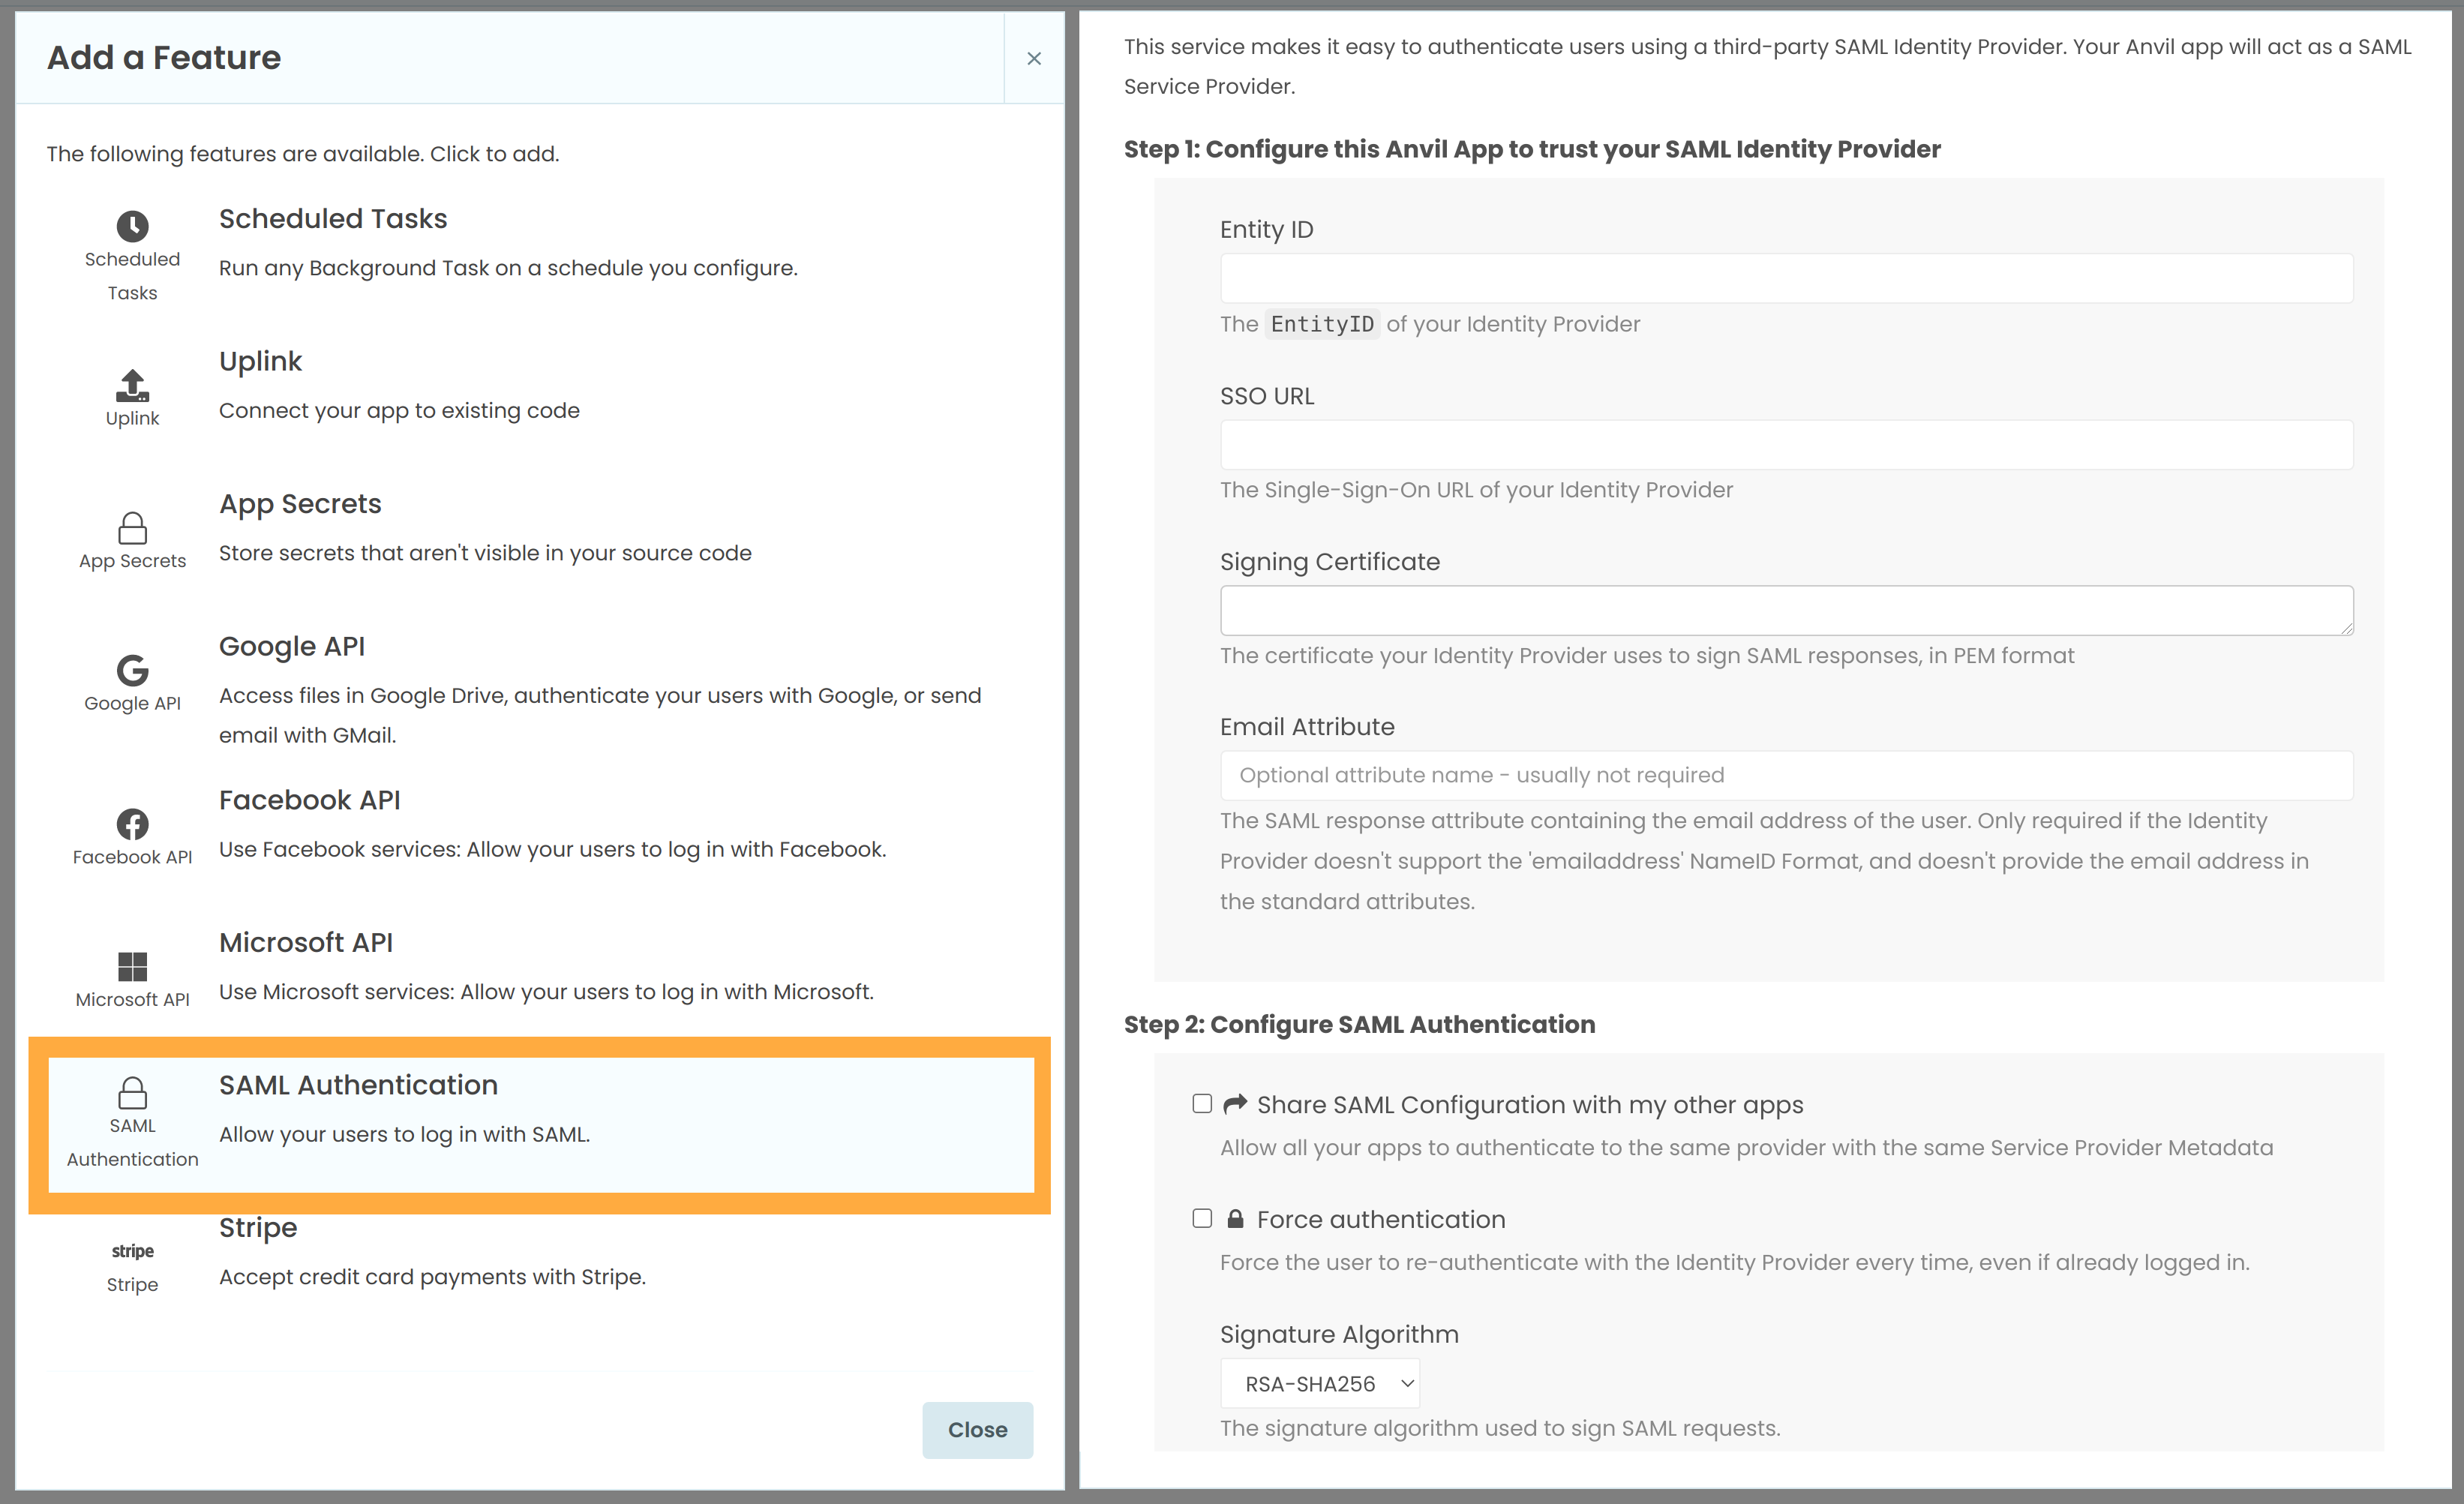
On the left, the Services menu showing how to add SAML authentication to your app. On the right, the SAML Configuration page for an app, once the service has been added.
More about Anvil
If you’re new here, welcome! Anvil is a platform for building full-stack web apps with nothing but Python. No need to wrestle with JS, HTML, CSS, Python, SQL and all their frameworks – just build it all in Python.
Learn More
Get Started with Anvil
Nothing but Python required!
Seven ways to plot data in Python
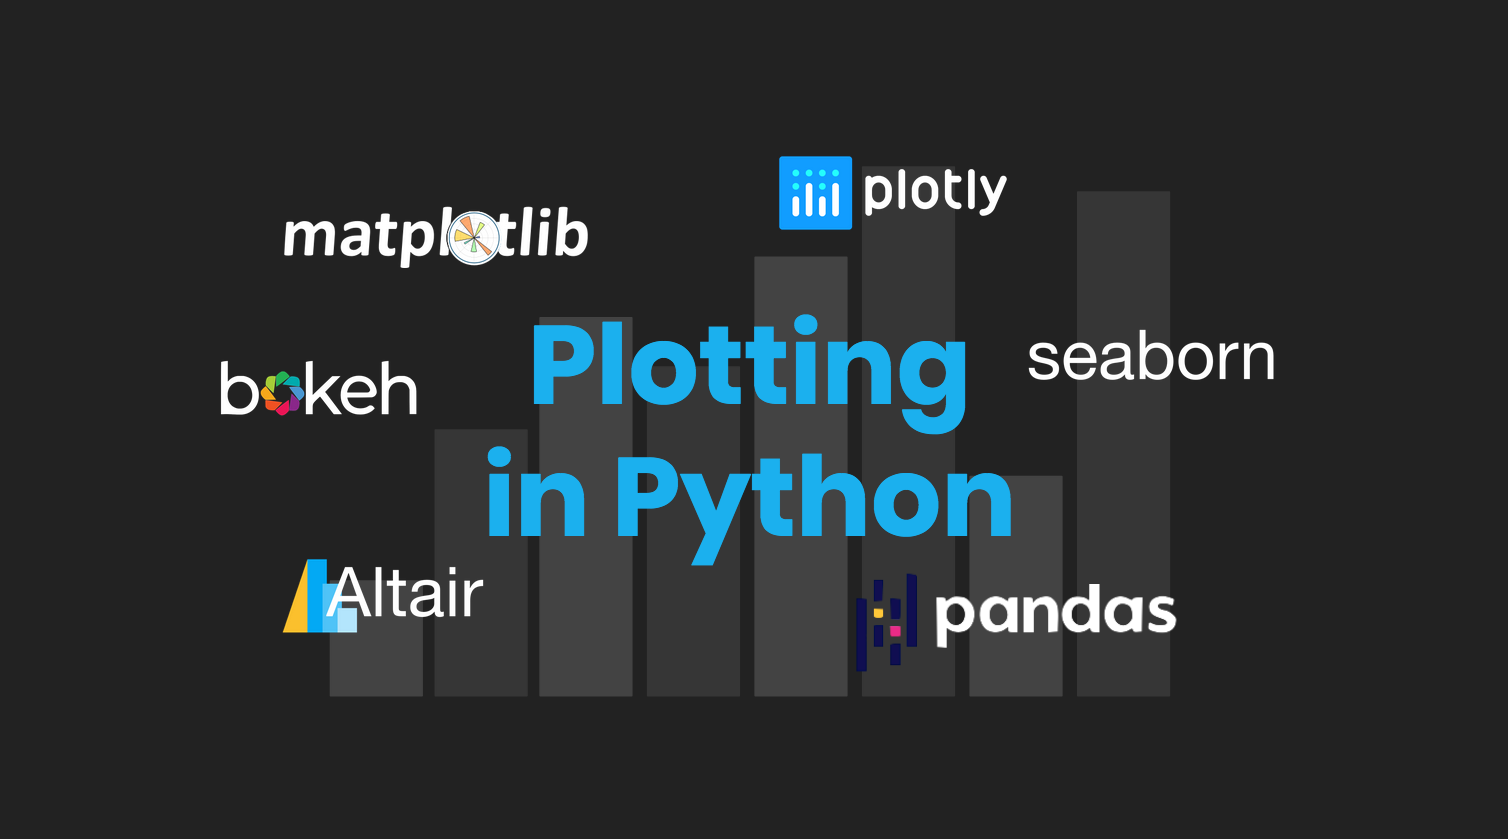
Python is the language of Data Science, and there are many plotting libraries out there.
Which should you choose?
In this guide, we introduce and explain the best-known Python plotting libraries, with a detailed article on each one.
Deploy data science to the web with Deepnote
Generate PDF Invoices with Python
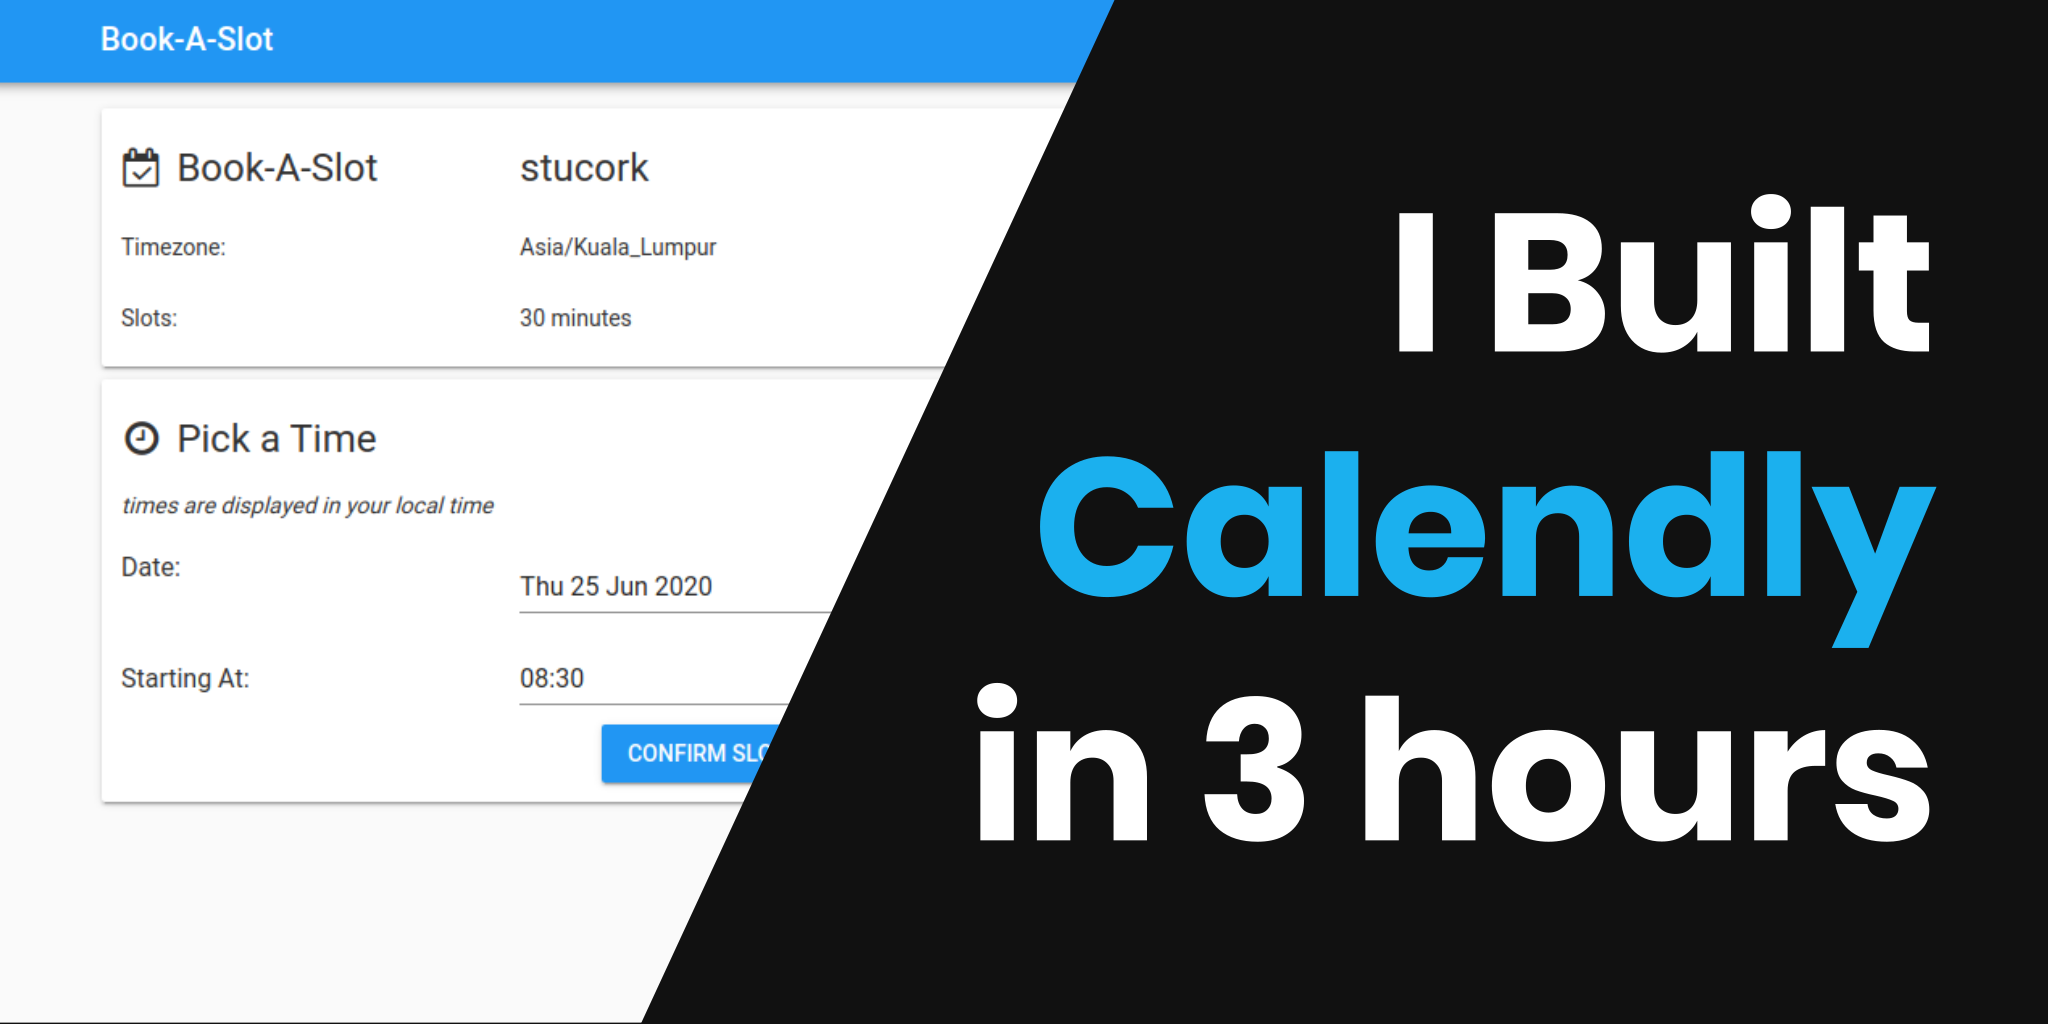
Rapid Prototyping: Building Calendly in 3 Hours