 By
By Integrate with Microsoft online services
In this tutorial, we’re going to build an app that integrates with Microsoft online services (Office 365 or Entra ID).
Using Anvil’s Microsoft services requires a Business plan or higher.
We’ll build it in three steps:
- At first, it will allow login from any Microsoft account using Microsoft’s Single - system.
- Then we will modify it to only allow users in a particular Entra ID tenant to log in – for example, only users from your company.
- Finally, we will use the logged-in user’s account to access Microsoft Azure APIs.
Logging in with Microsoft Single Sign-On
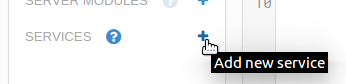
Create a new app using the Material Design theme. Enable the Microsoft API Service.
Note: This guide includes screenshots of the Classic Editor. Since we created this guide, we've released the new Anvil Editor, which is more powerful and easier to use.
All the code in this guide will work, but the Anvil Editor will look a little different to the screenshots you see here!
In Form1, add this code to the end of the __init__ method:
    anvil.microsoft.auth.login()

    alert("You are logged in as: %s" % anvil.microsoft.auth.get_user_email())
Now run the app - you’ll get a login dialog like this:
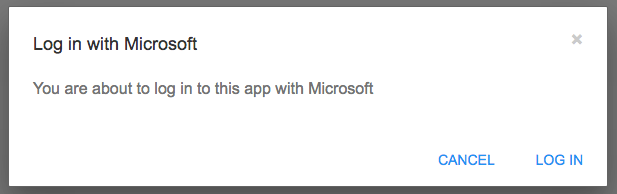
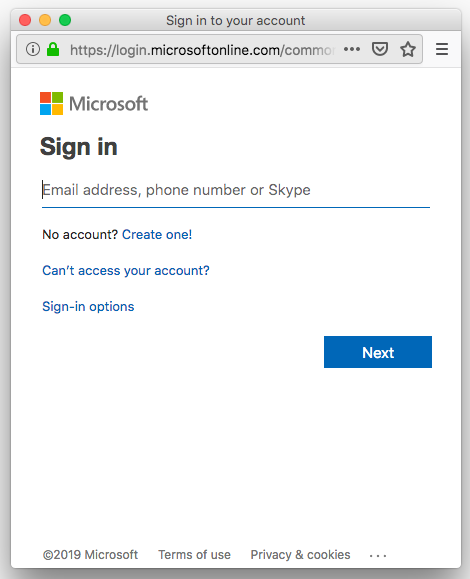
Click the ’log in’ button. If your browser is not currently logged in to your Microsoft account, you will be presented with the Microsoft Single Sign-On dialog in another browser window.
If your browser is already logged in to your Microsoft account, you will be automatically logged in. This might be the case if you are logged in to the Azure Portal in another tab, for example.
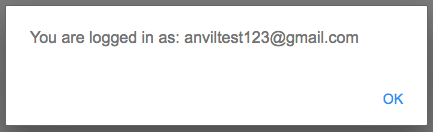
Once you’re logged in, you will see an alert displaying your email address:
What happens when you click the ‘Cancel’ button on the login form? Currently, nothing. Let’s deal with that case.
The anvil.microsoft.auth.login() function returns None when the Cancel button is clicked. Change your code
to deal with this case as follows:
    if anvil.microsoft.auth.login() is None:
      alert("Not logged in, you have limited access to this app.")
    else:
      alert("You are logged in as: %s" % anvil.microsoft.auth.get_user_email())
If you want to restrict access to parts of your app based on user, you can call anvil.microsoft.auth.get_user_email()
at any time and check the output. If nobody is logged in, it returns None.
Your own Entra ID tenant
Currently, anybody with a Microsoft account can log in to your app. If you want to restrict access to users within your own Entra ID tenant, you just need to configure a few things in Azure Portal and copy the relevant keys into Anvil.
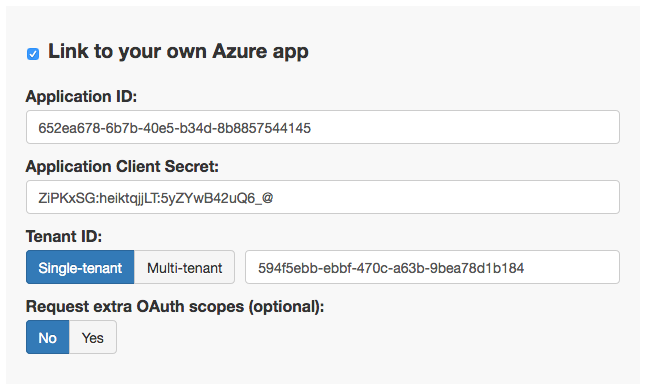
First, go to the Microsoft API Service in your app. Click on the box marked ‘Link to your own Azure app’.

There are some boxes to enter some keys. You can find these keys in the Azure portal.
At this point, you need to create an Entra ID tenant and link it to Anvil (you can use an AD tenant you already have). It only takes a couple of minutes; follow this step-by-step guide and come back when you’re done!
Welcome back. Your Microsoft API Service should now have some values filled in:
Run your app again and try logging in with a Microsoft account that’s not in your Entra ID tenant. Now that you’ve restricted your app, you can no longer log in with that account.
If you try using an account that is in your Entra ID tenant, you’ll find you can log in.
Using Microsoft Azure APIs from Anvil
Your app can now use Microsoft Azure’s many REST APIs from Anvil by getting a token for your Entra ID tenant. You can do a huge range of things from controlling your Azure Virtual Machines to listing your Visual Studio projects.
We’re going to use the Microsoft Graph API, which allows you to access a range of Office 365 application data such as user accounts, calendar events and emails.
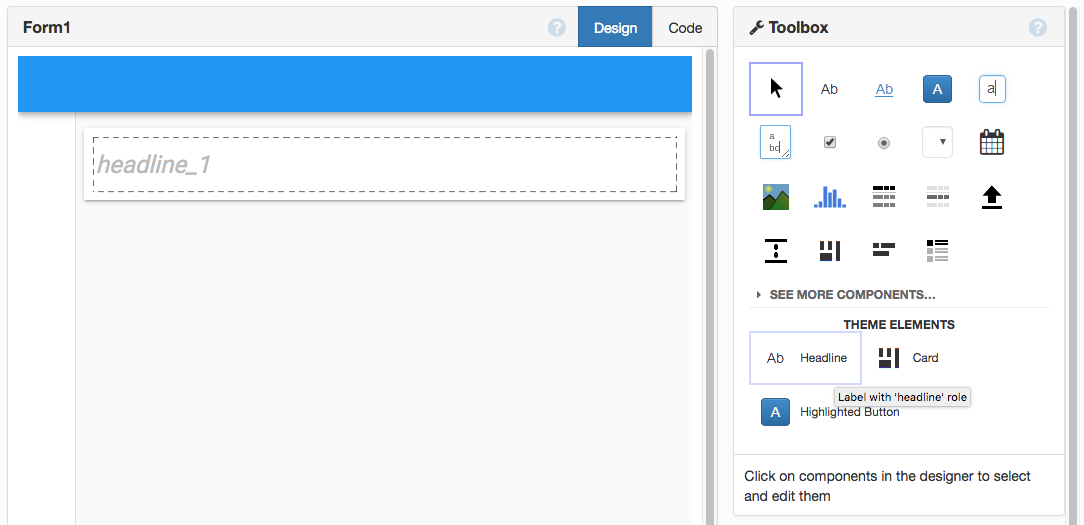
Add a Headline to Form1 - we’ll use this to display the user’s full name as returned by Microsoft Graph (if you’re not using the Material Design theme, just add a Label and make the text large):
Note: This guide includes screenshots of the Classic Editor. Since we created this guide, we've released the new Anvil Editor, which is more powerful and easier to use.
All the code in this guide will work, but the Anvil Editor will look a little different to the screenshots you see here!
Go back to the Code view for Form1 and add this line to the end of the __init__ method:
token = anvil.microsoft.auth.get_user_access_token()You need to request OAuth scopes depending on what you want to do. OAuth scopes are particular sets of permissions that you request when logging in.
The Microsoft Graph API documentation tells you which scopes you need to request for each HTTP request type.
In this case, we need Users.Read, so we enter that into the appropriate box in Anvil:
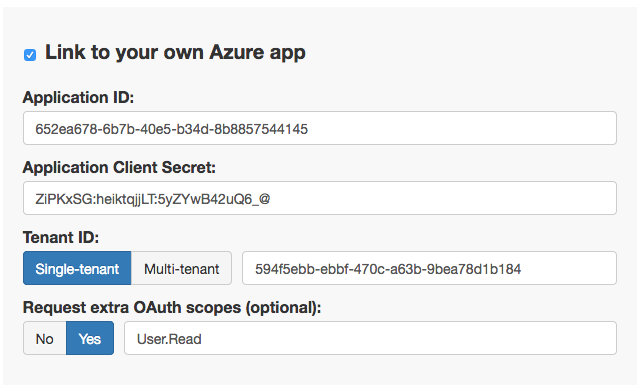
Anvil will now make sure you always have that scope as long as a user is logged in.
Now you can use the anvil.http library to make HTTP requests against the relevant API. You can
do this from client-side or server-side code - we’re going to make requests from the client.
Add the following code to the end of the __init__ method:
    me = anvil.http.request(
      'https://graph.microsoft.com/v1.0/me/',
      headers={'Authorization': 'Bearer ' + token},
      json=True,
    )
    self.headline_1.text = "Hello, %s!" % me['displayName']
The result: when you log in, Anvil fetches your ‘real name’ from Microsoft Graph and displays a greeting:
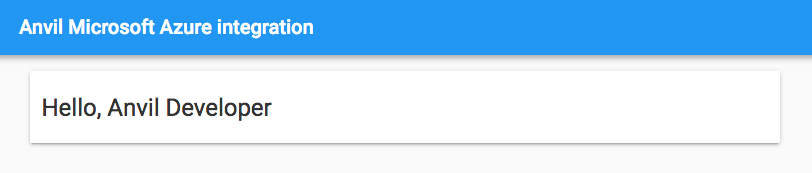
And you’re done! In a few easy steps, you’ve built an Anvil app that’s integrated with Azure - you can log in using your own Active Directory tenant and access Microsoft Azure APIs with ease.
Facebook and Google Login
Similar Single Sign-On login functionality is available for Facebook and Google. Just as users can log in with their Microsoft accounts using:
anvil.microsoft.auth.login()they can log in with Facebook accounts using:
anvil.facebook.auth.login()and Google accounts using:
anvil.google.auth.login()Using the Users Service
This tutorial has shown you how to build an app that uses Microsoft log in alone. If you want to use a range of login options, you can use the Anvil Users Service.
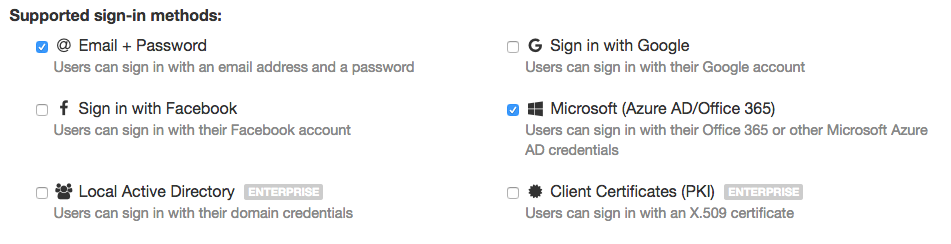
You can still restrict the Microsoft login option to your own Entra ID tenant. Go to the Microsoft API Service, check the ‘Link to your own Azure app’ box and fill in the keys, as described in the ‘Your own Entra ID tenant’ section above.
Next up
For more information about the Microsoft API Service, take a look at this section of the reference docs.
There’s more on the Users Service and general authorization techinques in the Multi User Apps tutorial.