Anvil Uplink + Raspberry Pi
Sometimes, you want to use code that’s not on the web, from your web app. Usually this is a bit of a pain, but Anvil makes it easy with the Anvil Uplink.
The Uplink lets you write any program outside Anvil, and talk to them from your Anvil app. (Even if your program isn’t running on a public web server!)
In this video, we use the Uplink to control a program on the Raspberry Pi from an Anvil app (written version below).
Note: This guide includes screenshots of the Classic Editor. Since we created this guide, we've released the new Anvil Editor, which is more powerful and easier to use.
All the code in this guide will work, but the Anvil Editor will look a little different to the screenshots you see here!
Of course, the Uplink is useful for more than just playing with the Raspberry Pi. You can connect a program you’ve already written, access files on your computer, or connect an Anvil app to code you’ve already written. You can even call into your Anvil app from uplink code - it’s a two-way API!
To learn more about the Anvil Uplink, read the Uplink section of the Anvil reference manual.
You can buy your own Raspberry Pi from the Raspberry Pi Foundation website.
The video in writing
Prefer reading to watching? Here’s a written version.
Constructing a User Interface | 0:26 - 1:07
We construct a UI where the user can enter a name to display on the Raspberry Pi.
The Uplink | 1:07 - 2:54
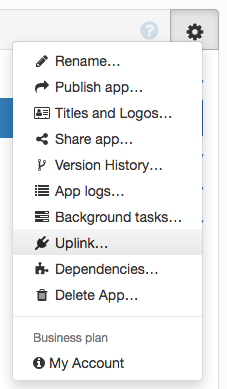
We enable the Uplink by clicking on Uplink in the Gear menu ![]()

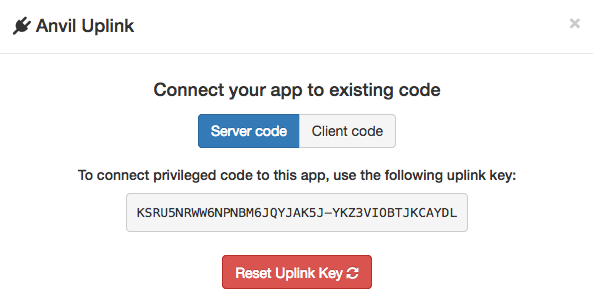
This shows a dialog with an ’enable’ button; clicking that button gives us a unique ID for our app:

On the Raspberry Pi, we install the Anvil Uplink library:
pip install anvil-uplinkAnd in a Python script on the Raspberry Pi, write we some code to print a message. The message is printed on a SenseHAT, which has an LED display that can be controlled from a simple Python library.
import anvil.server
from sense_hat import SenseHat

sense = SenseHat()

@anvil.server.callable
def show_message(message):
    sense.show_message(message)

anvil.server.connect("<YOUR UPLINK KEY HERE>")
anvil.server.wait_forever()
Then we run the script - the wait_forever() makes sure it stays alive waiting for function calls.
Calling the Uplink script from the app | 2:54 - 3:23
We call the show_message function from the app when the Button is clicked:
  def button_1_click(self, **event_args):
    """This method is called when the button is clicked."""
    anvil.server.call("show_message", self.name_box.text)
And that’s it! Now when you enter your name in the App:

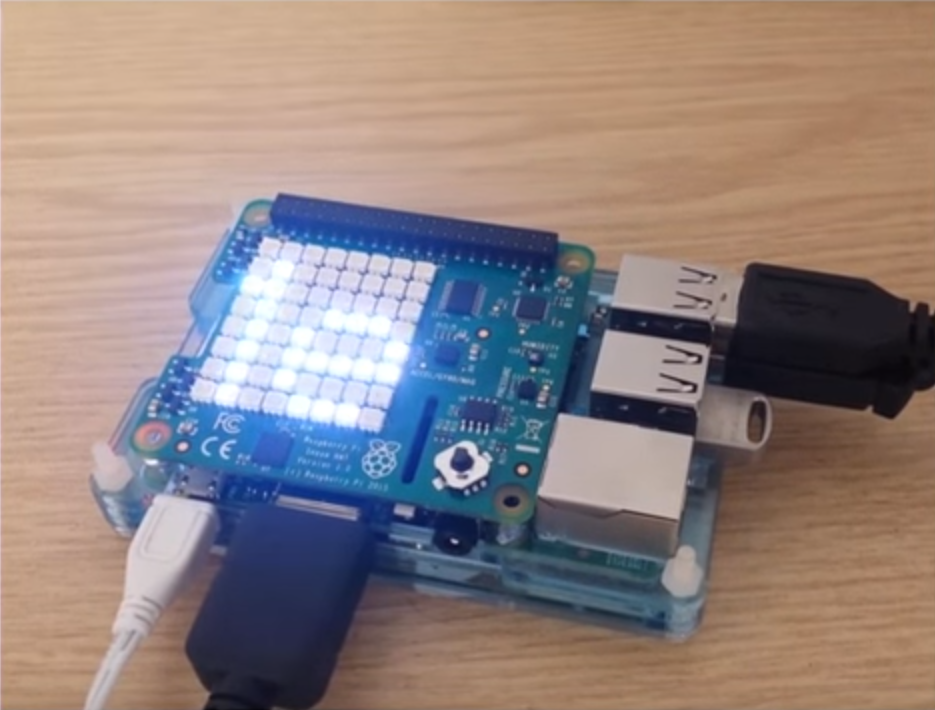
Your name appears in scrolling lights on the Raspberry Pi:

More uses for the Uplink | 3:23 - 3:45
As well as calling from your app, you can use the Uplink to call into your app.
Let’s say you have a function in a Server Module:
# In a Server Module
@anvil.server.callable
def store_name(name):
  app_tables.names.add_row(name=name, when=datetime.now())
You can call it from your Python script using anvil.server.call:
# On your own machine (Rasbperry Pi, your laptop, in your server room, anywhere...)
def store_name_in_anvil(name):
    anvil.server.call("store_name", name)
So you can run Python anywhere and connect it to your app just by making function calls! You can:
- connect to your existing scripts to run calculations. Run them from your app, and make calls into your app to store the results in Data Tables.
- connect to Jupyter notebooks and use an Anvil GUI to control your data pipelines.
- connect Anvil to a Python daemon on each machine in your network and monitor their memory usage by making system calls.
- connect Anvil to your IoT gateway and create an app to manage your IoT devices.
Anything you can do in Python, you can integrate it into an Anvil app using the Uplink.
Try it for yourself
Build this app for yourself - Log in and follow along, or watch more tutorials in the Anvil Learning Centre.
Next up
Experiment more with the Uplink by following this step-by-step workshop. You’ll connect an app to your local machine, run unit tests, and store the results for future reference.
If you’d like to learn the basics of Anvil, start with the Hello, World! tutorial.
 By
By