Creating User Interfaces
Forms
Forms are the pages of your Anvil app. They have a visual design that describes how they look, and a Python class that describes how they behave.
The Form with the  symbol next to it is the startup Form. This is the first page displayed when your Anvil app is opened.
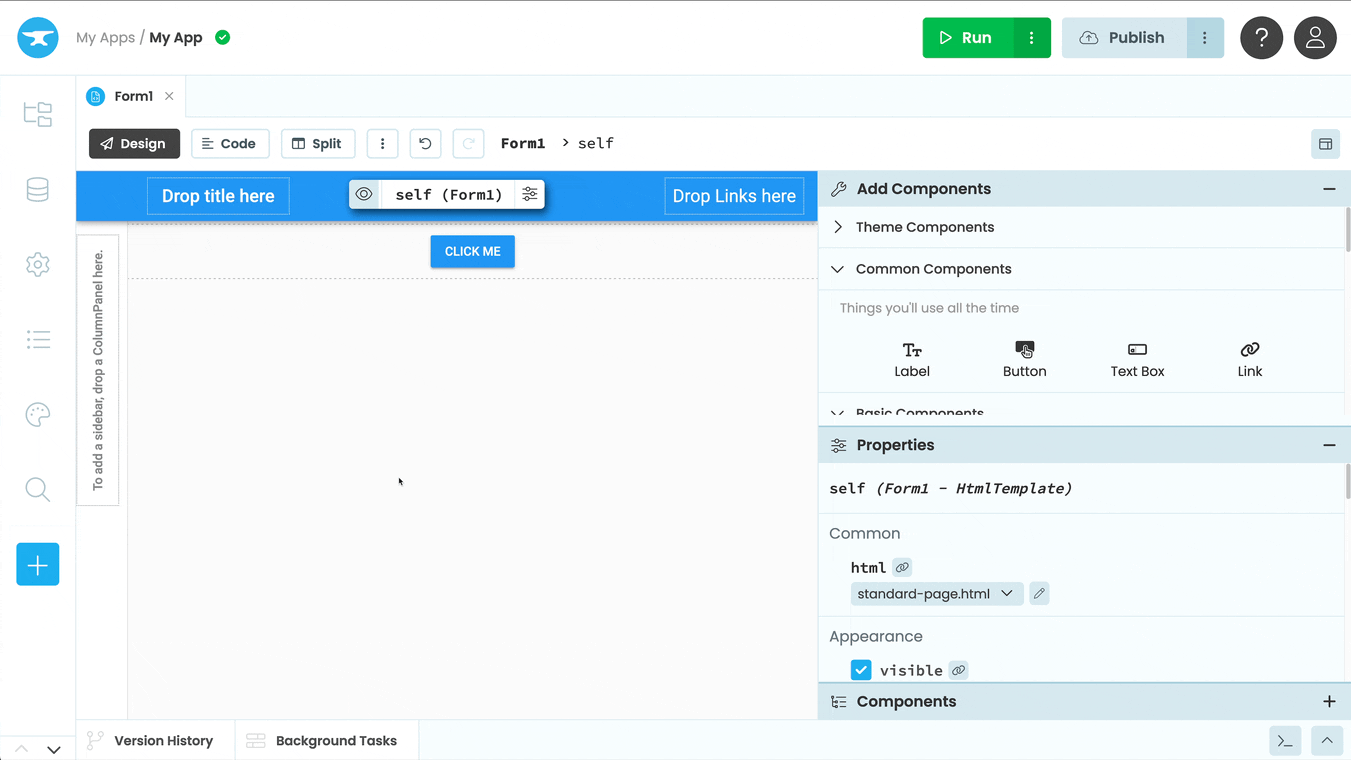
The Anvil Editor shows a list of Forms in the App Browser. You can click on each Form and view it in either Design view, Code view or Split view:
The Form with the  symbol next to it is the startup Form. This is the first page displayed when your Anvil app is opened.
The Anvil Editor shows a list of Forms in the App Browser. You can click on each Form and view it in either Design view or Code view:
In Design view, you can move components around on your Form and drop components into it.
In Code view, you can see that each Form is represented by a Python class. Its attributes and methods define how the app behaves. You can create and manipulate components in code as well.
The following code is auto-generated by the Anvil Editor when you add a new Form to your app:
from ._anvil_designer import Form1Template
from anvil import *

class Form1(Form1Template):

  def __init__(self, **properties):
    # Set Form properties and Data Bindings.
    self.init_components(**properties)

    # Any code you write here will run before the form opens.
Creating a component
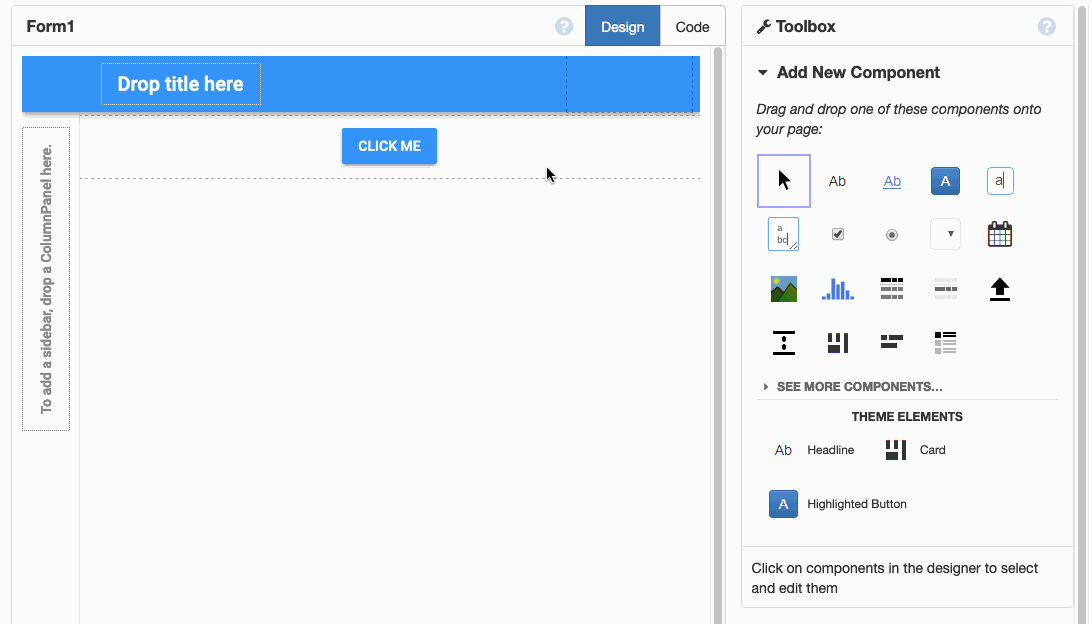
To add a new component to your page, go to Design view and drag its icon from the Toolbox into the Form Editor. The highlighted line shows you where your new component will be created:

Video: Creating a button
You can pick up an existing component and move it around in the same way.
Configuring a component
Click on a component to select it. You’ll see it outlined in the Form Editor.
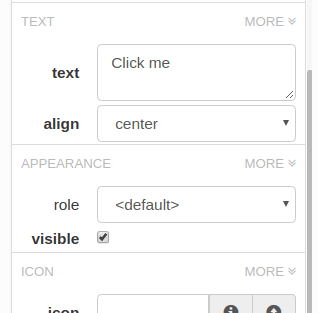
Use the Properties Panel to change properties of the selected component. For example, changing a Button’s text property changes the text on the button:
Editing a property of a Button component
Click on a component to select it. You’ll see it outlined in the Form Editor with the Object Palette appearing above the selected component. You can begin configuring the component inline in the Designer with the Object Palette and by double clicking the component’s text. For example, double clicking a Button’s text allows you to change the text property of the button:

Editing the Text property of a button
For properties not included in the Object Palette, you can use the Properties Panel - this contains all properties for a selected component.

Using the Properties Panel
The Properties Panel is grouped into sections, and you can click the “More” link to see more properties.

More properties
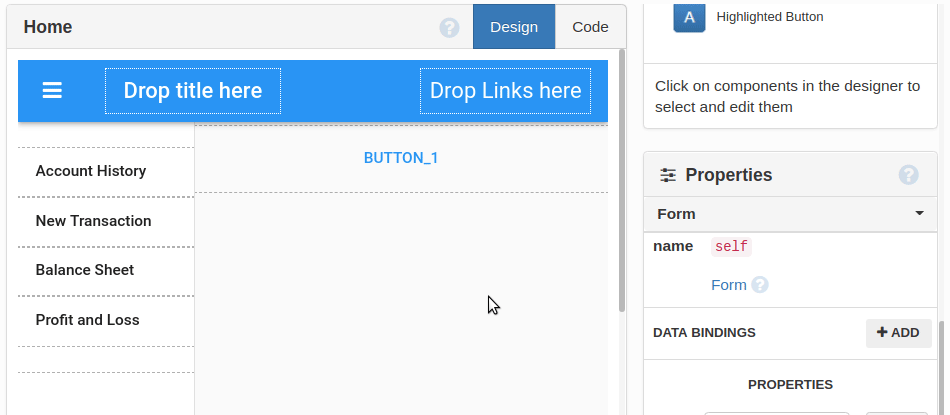
Component names
Each component has a name (e.g. self.button_1). This lets you refer to this component as an instance attribute in your Form class.
Each component has a name (e.g. self.button_1). This lets you refer to this component as an instance attribute in your Form class. You can rename the component either via the Object Palette or in the Properties Panel:

Renaming a component via the Object Palette
Container properties
Components are typically placed inside containers. You can set container properties that configure how the component is displayed in its container. For example, if a component is placed inside an XYPanel, the container properties set the X and Y coordinates of the component within the XYPanel.
Dragging handles
When you select some components, you will see draggable handles that let you adjust the size of the component. (For example, there is a handle to set the height of an Image component.) This is a visual way of editing the value of a property (e.g. the height property of an Image component).
Components placed side by side on the same row of a ColumnPanel are separated by a draggable blue column separator. This column separator is visible when a component from that row is selected or when the ColumnPanel containing those components is selected. Holding the ctrl key while dragging the separator allows for fine control. Double-clicking on the separator will reset all column widths from that row back to the default equal spacing.
Component events
If you scroll to the bottom of the Properties Panel, you can find a list of events that the selected component can raise.
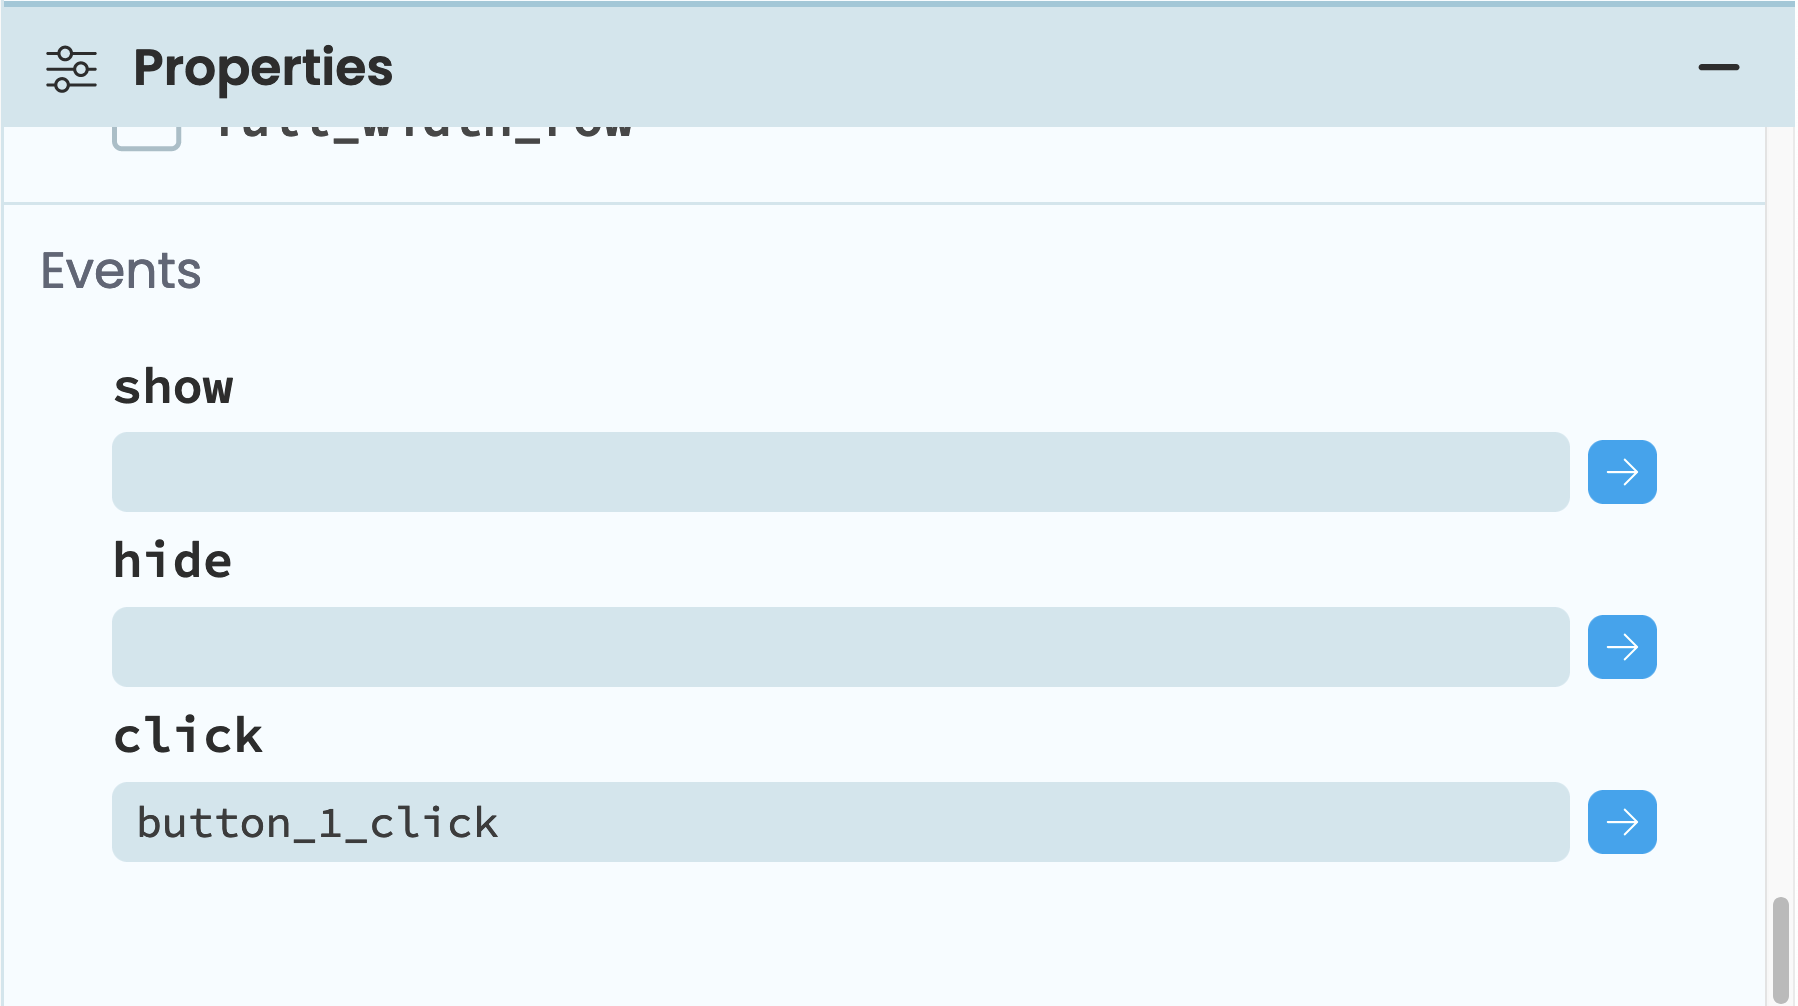
Events
Events
Next to each event, you can enter the name of a Python method. That method will be called when the event occurs.
Click the blue arrow button to go to the method that runs when the event occurs. If an appropriate method doesn’t exist already, it will be created. (If there is no method name in the box, an appropriate name will be chosen using the name of the component and the event: e.g. button_1_click.)
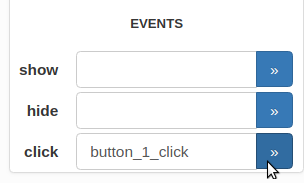
Alternatively, you can use the Object Palette to set up an event handler for a component’s default event. The default event will be the most commonly used event for that component. For example, you can click the “on click event’ for a button component to create a click event function:

Creating a click event function via the Object Palette
Component visual layout
Components are laid out from top to bottom on a page. A component’s width is determined by the layout you have set up in its container. A component’s height is determined by its own properties.
Everything is Code
Everything that you can do in Design view of the Form Editor can also be done by writing some Python code in Code View. This is because each component that you drag-and-drop onto your Form is represented as a Python object that you can interact with directly.
For example, you can add components to your Form or change a component’s properties by writing code in your Form’s __init__ method.
We’ll explore this in more detail in the coming sections, but here are some examples:
- You can add a component by creating an instance of the component class (e.g. calling
Button()), and then callingadd_component()on a container to add it to your page. For example:
   self.button_1 = Button(text="Click me")
self.content_panel.add_component(self.button_1)- You can set (or read) properties of a component as attributes on the component object. For example:
self.button_1.text = "Click me"- You can set container properties of a component when adding it to a container, by passing them to
add_component():
  my_button = Button(text="Click me!")
self.xy_panel_1.add_component(my_button, x=40, y=150)- You can bind events on a component by calling its
add_event_handler()method.
  my_button = Button(text="Click me!")
  my_button.add_event_handler('click', self.my_button_click)
Do you still have questions?
Our Community Forum is full of helpful information and Anvil experts.